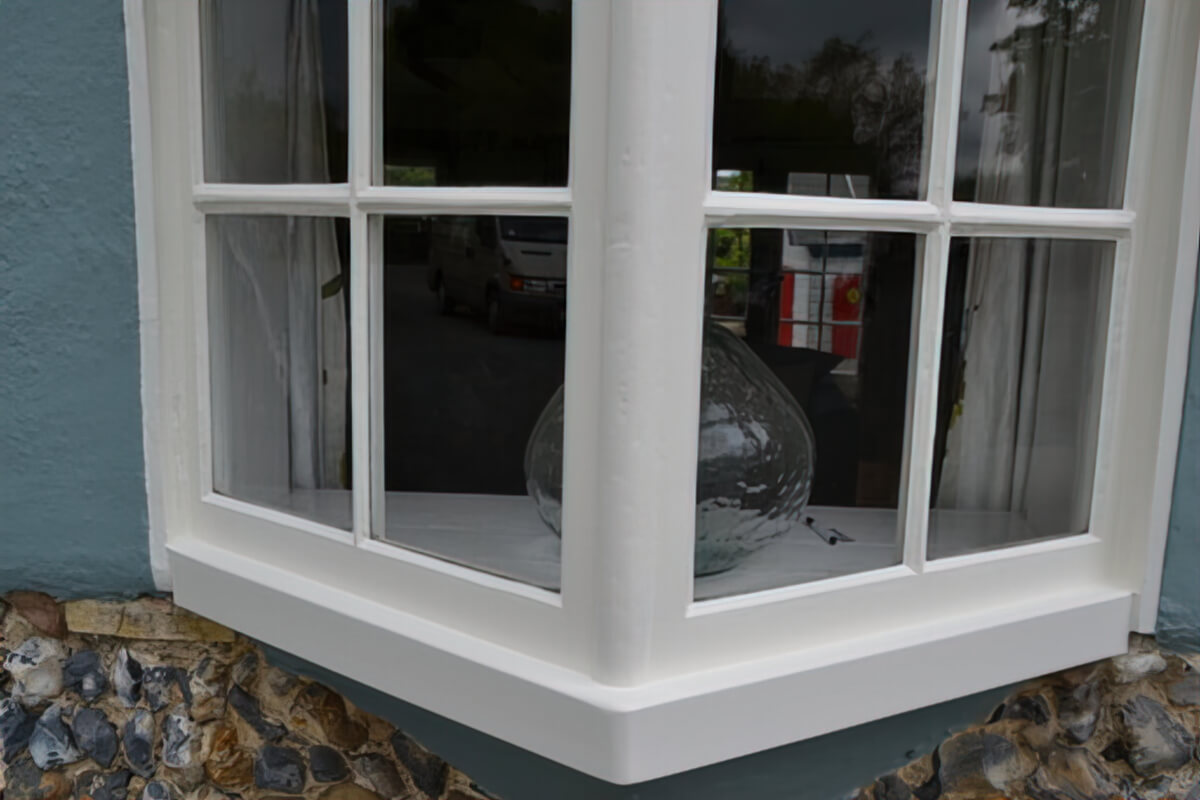
How do you replace a sash window sill?
Window sill rot is an ever-present issue in wooden window frames. The sill of the window is most prone to water damage, and if the window hasn’t been cared for, this makes it even more likely that rot will affect the sill.
If you do have issues with your sash window sill, below we’re going to look at the causes of these issues and what you can do to solve the problem too. We have an in-depth look at sash window sill replacement below.
First, though, let’s look at why sash window sills become damaged. We will then look at the solutions you can use on your window sill.
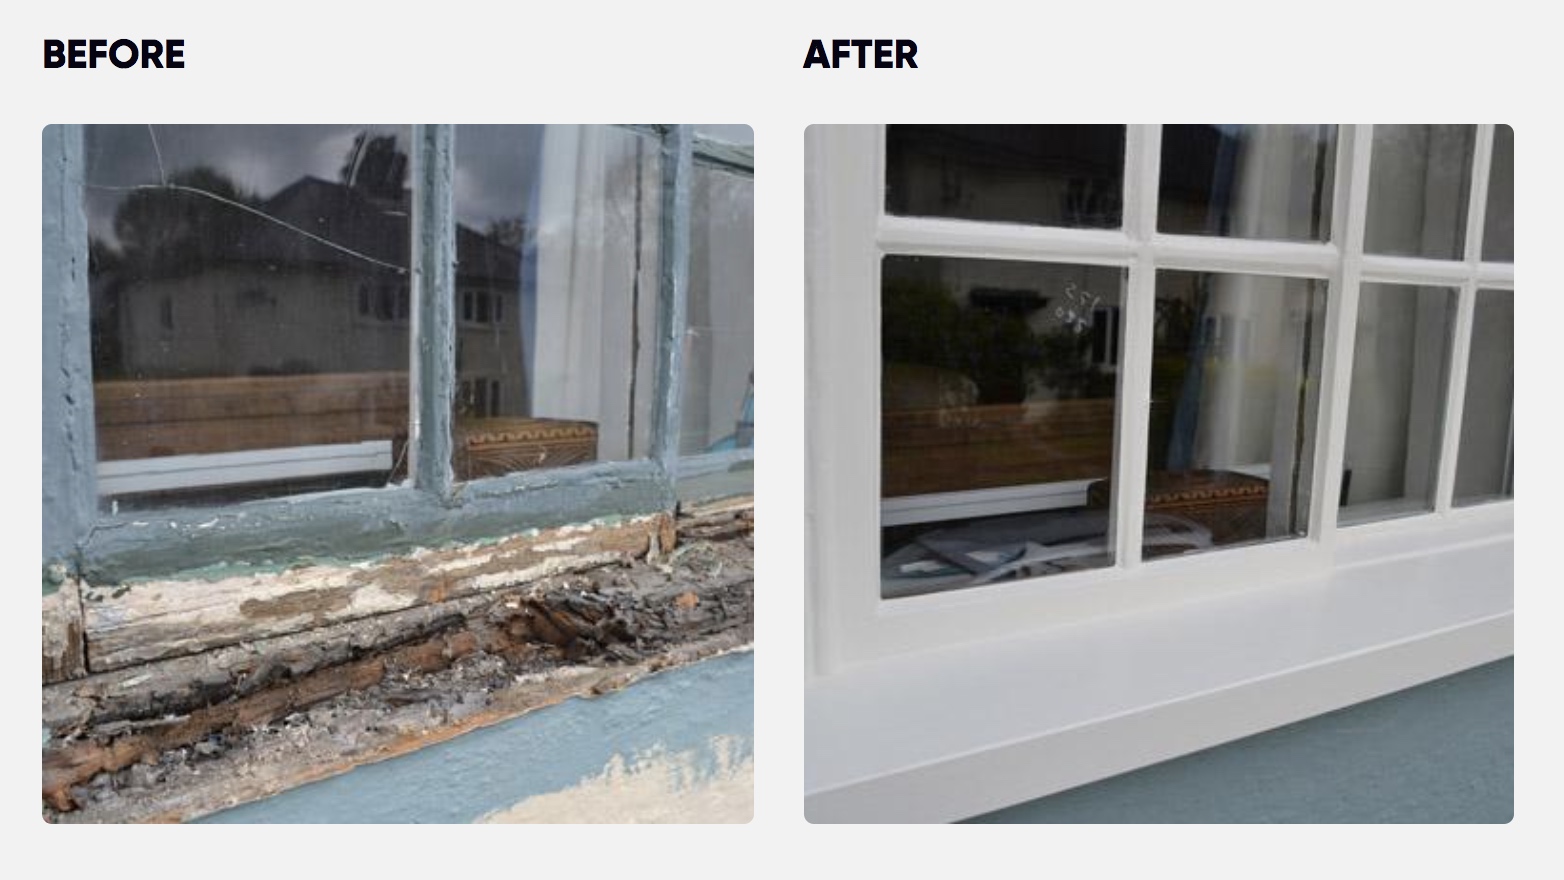
Most often, a sash window sill replacement is due to rotting. This rot occurs when the paint on the sill has cracked and allowed moisture to enter the wood itself. Many homeowners believe that signs of rot in window sills occur most commonly in northern-facing windows because these windows don’t get as much sun.
However, south-facing windows are actually more prone to rot because the sun will damage and crack the paint, which allows water to seep into the wood. Once there is water present in the wood, the fungus can develop and cause rot.
So, sill damage most commonly occurs when paint cracks and isn’t maintained. Over time, this allows water to get into the sill and for fungus to grow. Depending on how bad the rot in the sill is, there are few solutions available, which we will cover next.

There are a couple of solutions to a damaged or rotten sill. Which one you choose greatly depends on how badly your sill is damaged and how savvy of a DIYer you are. Both of the solutions we’ll mention below do require a good level of DIY knowledge, but the second solution, which is complete sash window sill replacement, is certainly the more difficult of the two. The first is a sash window sill replacement where the entire sill is replaced. The second option is to splice in new wood.
Just before we look at repairing and replacing a window sill in a sash window, you will need some tools and equipment to help you. Here is a breakdown of everything you’ll need. If you have a powered version of the tools mentioned below (a circular saw to replace the hand saw, for example), that is great, but this basic tool kit will get the job done.
The toolkit and materials needed to replace or repair a sash window sill
Before you begin the window sill replacement, put down some dustsheets and protect your furniture, the window and flooring. Damaging other areas of your home while repairing the sill is a bit counter-productive.
To start the sash window sill replacement, you’ll need to remove the internal nosing from the window first. You will be reusing this once the sill has been replaced, so be careful to remove this in one piece.
Use the wrecking chisel and start from one end of the window frame. Just work your way along the nosing, gently getting the chisel under the nosing and using leverage to pry it up. You will likely encounter some nails during this process. A steady amount of leverage should be used to carefully remove the nails as well as the nosing.
There may be some chunks of paint that are removed during this process. If you have one, a belt sander can be used to feather the layers of paints before reattaching this part. This isn’t required, but it will leave the window looking a lot better when you’re finished.
To remove the old, rotting sill, you need to cut it somewhere in the middle. This is to cause minimal damage when we remove it. With the cut in the middle of the sill, we can then lever the sill out into the opening of the window, rather than trying to pull the whole thing out sideways. You will need to cut through the side rail at a 45-degree angle. We will remove this just before the sill.
Now you can use the wrecking chisel to remove the side rail. You may also need to replace the front lining as well. This is another common area for rot. Once the side rail and front lining have been removed, keep them. You can use these as a template to make the new ones from the 5 by 1 in a bit.
Now you can remove the sill. More often than not, the sill will have mechanical fastenings in it like nails, for example. These can be cut using a hacksaw which makes it much easier to remove the sill. If you don’t have a hacksaw, you can use your wrecking chisel to lift the sill out and bring the nails with it.
The easiest way to cut your new sill section is to use the old one as a template. If the old one is still in a good enough condition, you can closely match your new sill to this one. You can also do the same with the side rail and the front lining.
For the sill, the measurements are really important. You will need to cut the sill 5 inches longer than the opening. If the opening is 36 inches, your new sill should be 41 inches. This is to ensure you have enough room for the joinery at either end of the sill.
Of course, if the old sill has been removed carefully enough in the last few steps, you can take measurements from the old sill and use these to recreate the new one. You can also do the same with the side rail and the front lining. This is one of the hardest steps of replacing a window sill in a sash window.
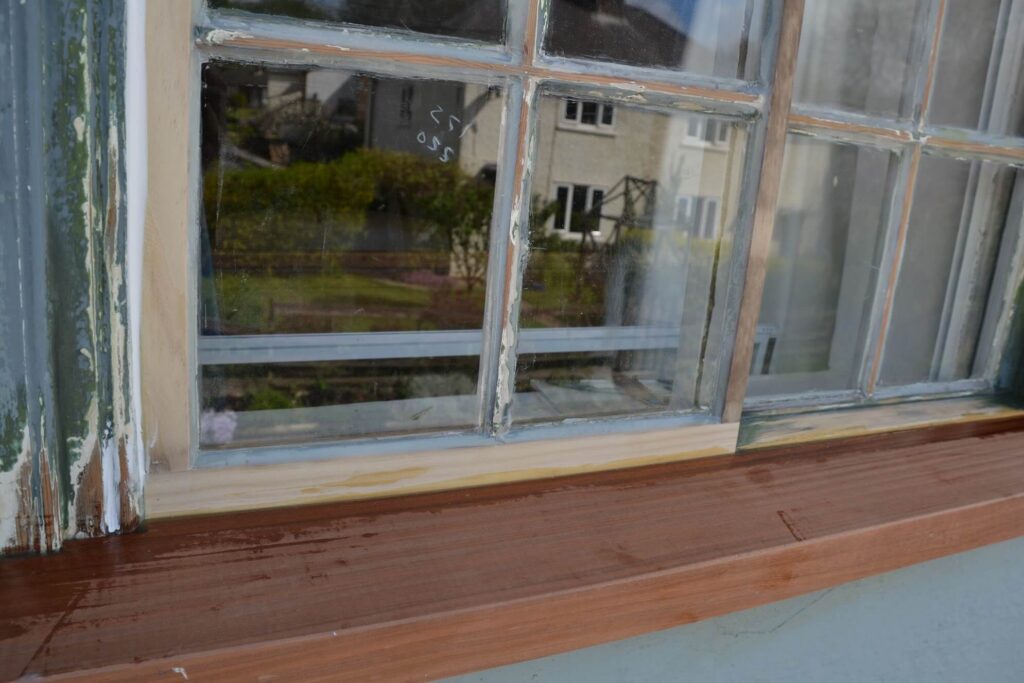
Now that the profiles and joints have been cut on the new sill, you can offer it up to the window. You’ll need to trim any excess so that it fits in perfectly. You will need to do this with the side rail and front lining.
It is much easier here to work in the reverse order that you took the window apart in. So, offer up the sill and get that in place perfectly, then fit the front lining and glue it in, then offer up your side rail.
Again, each piece of the window frame will need to be cut to length and worked until it fits nicely. Take your time and ensure the joints on the sill frame match the ones present on the old sill. You can then trim the front lining and the side rail until they fit in place nicely. And remember that the side rail will need a pocket removed on the back; this is for the weights to freely move in.
Once all of the joints are fitting nicely, and there are no gaps in the window or the sill, you can glue and screw everything in place. Use the 40mm screws for this. A few screws on each piece should hold them in nicely. Just avoid screwing into the side rail pocket, as this could block the weights or damage the sash cord.
Now you can attach the nosing using the 70mm screws and fill all screw holes and any other blemishes or slight errors with the epoxy filler. Using the original nosing shouldn’t be a problem as long as everything has been cut correctly.
And here is where all of your hard work will be hidden forever. Give the window sill a good sanding and ensure that any glue squeeze-out has been removed. Fill in any other minor imperfections you have missed, and give the window a good coat of quality primer and paint.
Also, make sure you use a silicone sealant around the outside of the sill to protect your home from the elements.
That is how to replace a sash window sill; we hope it wasn’t too confusing. Matching the existing sill and any other elements you remove is the easiest way of ensuring the job is done correctly. But what about repairing a sash window sill?
A sash window repair is a more complicated process, but those with a lot of DIY knowledge and skill should be able to pull this off. This is known as a splice repair. It involves using a router and jigs to remove any rotten parts of the sill and then splicing in new wood to the areas.
These spliced repairs shouldn’t impact the use of the window at all, and they need to match any profiles on the sash window. They also must use the same timber as the existing window, and the new patches shouldn’t interfere with any pockets or joints.
Repairing a sash window sill with a splicing repair is much more difficult than replacing the sill. We would recommend that you replace the entire sill. Unless you are highly skilled with a router, chisel and handsaw, a splice repair is far harder to do. And a spliced repair should only be carried out on a sill with at least 10% of rot present. In most cases, replacing the entire sill is the better option.