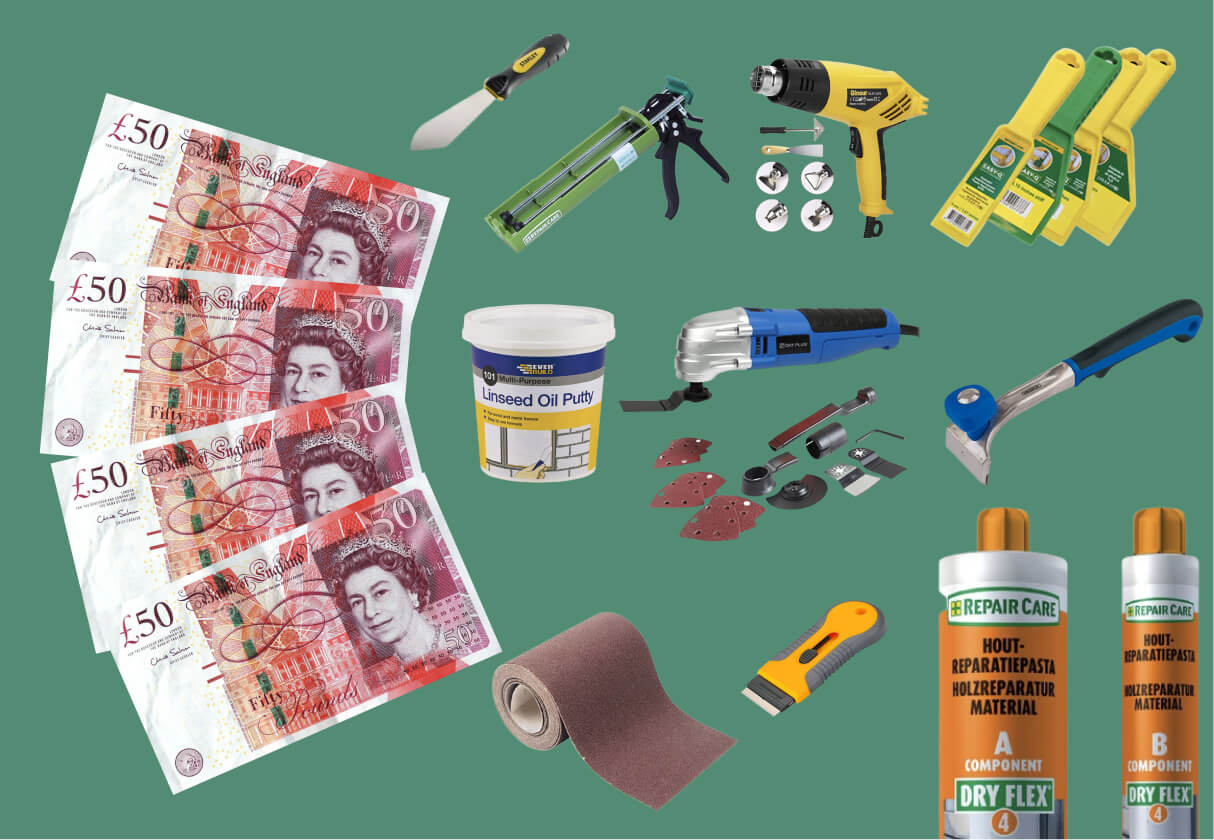
I am writing this article for DIYers who have decided to fix their wooden window issues themselves and are looking for a quick guide, alongside a list of tools and materials, to help make their sash windows repair project run as efficiently as possible.
Some of the tools and materials from this article are used by our team when they repair wooden windows for clients, but some tools and materials are slightly different to fit the budget of under £200. If wood repair and renovations are not your daily job, we do not think you should invest thousands of pounds into expensive, professional equipment.

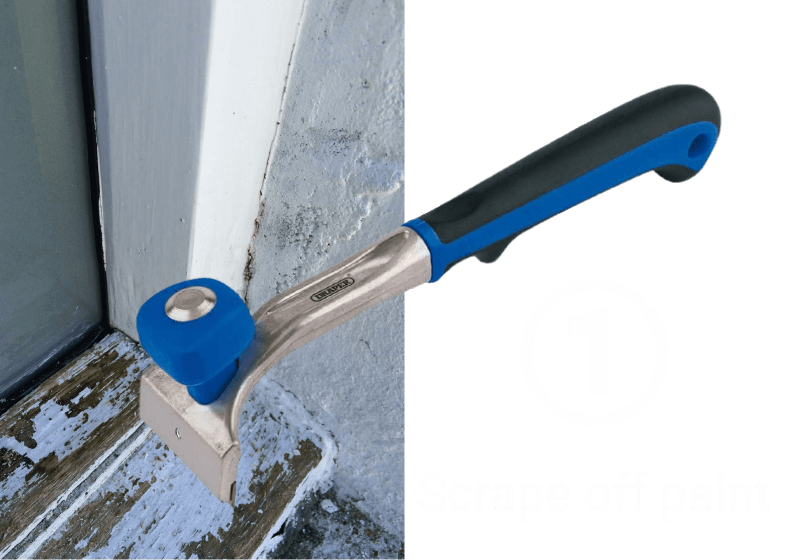
First of all, scrape off areas of flaking and cracked paint from all parts of the window. Start from the bottom and move upwards.
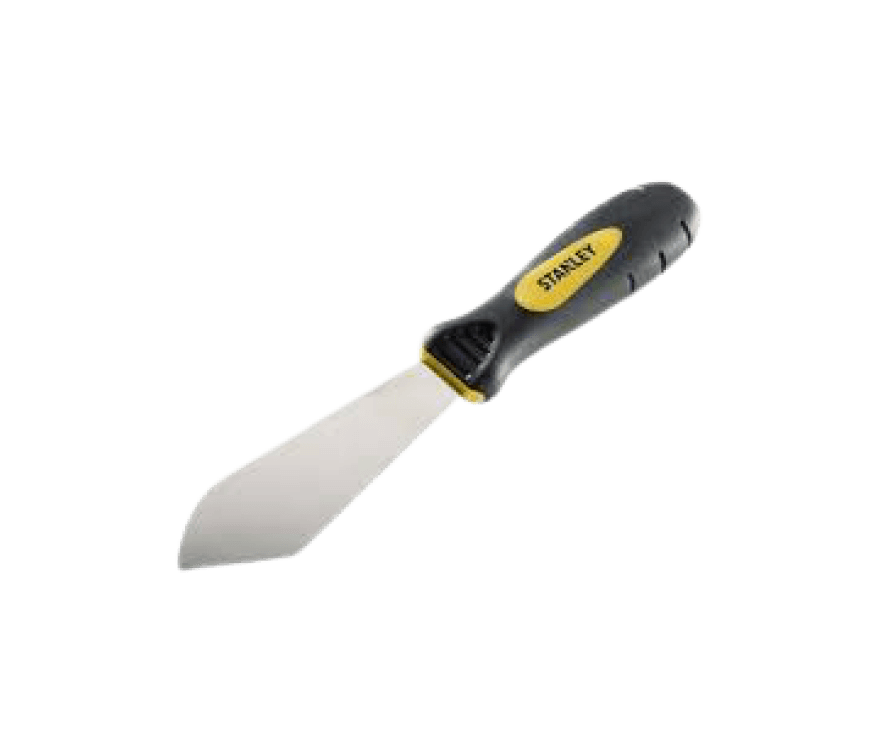
For this task, you can use the Draper 17156 Tungsten Carbide Pull Scraper which will finish this stage in no time.
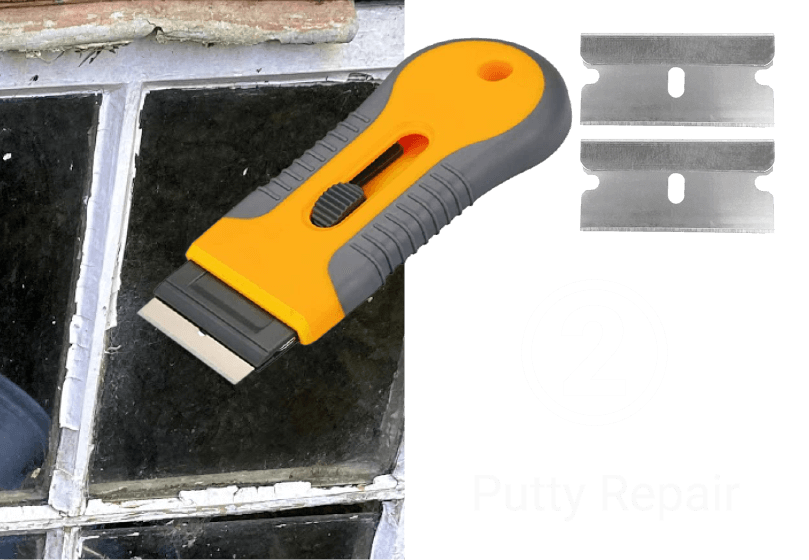
To scrape off paint stuck to the glass you will need a slightly more gentle scraper, Glass Scraper, 2 Pcs Double-Edged Hob Safety Window Scraper with 30 Pcs
Scraper Blades for Removing Labels, Decals, Stickers, Caulk, Paint from Glass, Stovetop, Subfloor. Do not forget to change the disposable blade frequently for better results.
You can also use a Pull scraper on putty, do not panic if the putty starts to fall off, the more old putty you lose now, the better. I would advise attempting to remove most of the loose putty, once you reach a point where it stays in place and does not fall off, you can be confident that it will serve you well for many years to come.
When you work with any kind of old window restoration you should develop a mindset, where the more issues you can discover and the more damaged parts you can remove the better. People make a huge mistake when they try to do as little as possible during the repair stage and move quickly to the painting stage and cover up everything with a fresh layer of paint. If you do not want to come back to doing your windows again in two years, do not rush this stage, spending most of your time on repairs.
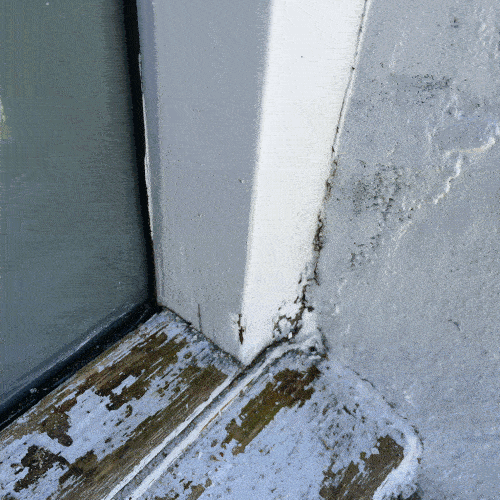
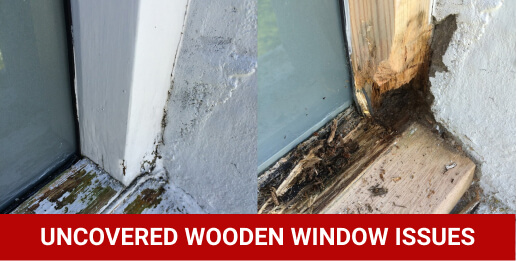
After heavy scraping, wooden window issues will start to reveal themselves. Some of them will surprise you, as they will require more repairs than you expected.
The basic principle to repair rot is “remove and replace”
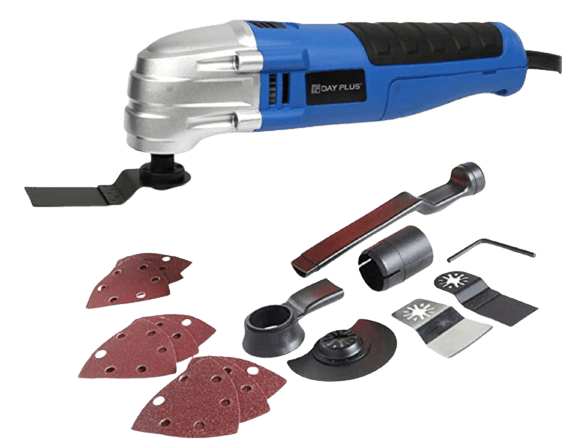
To remove the rotten part of the wooden window, you can use a Multi-Tool saw, which will significantly speed up your work and give you precision. This tool also has other useful functions, such as sanding- so definitely a good investment.
View product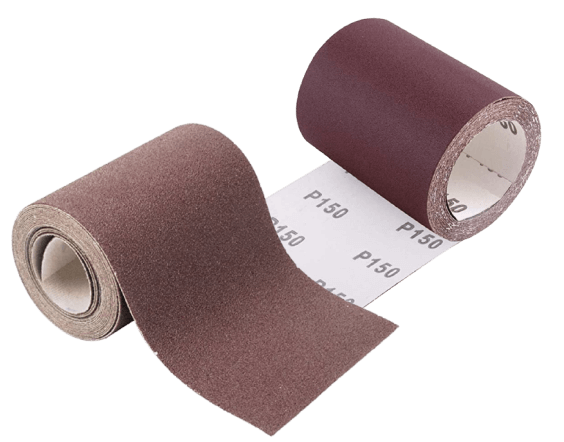
Once you have removed all rot, it is time to scrape off and remove compromised layers of paint. Usually, this means you will need to get to the bare wood at the bottom parts of the window and sand down the upper part of the sash window to smooth the surface. For this task, you can use sandpaper (80 grit to start with and 180 grit to finish off).
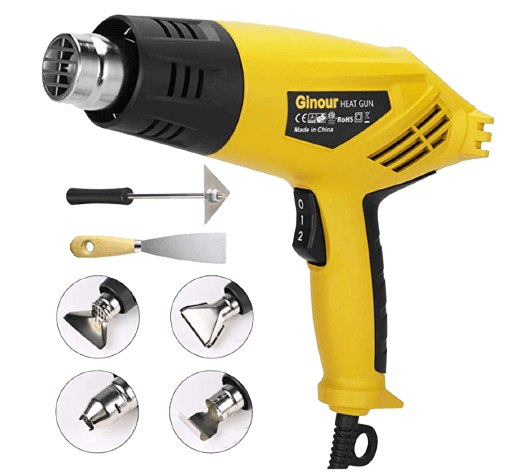
For scraping the paint off back to bare wood and to prepare a surface for painting you can use Heat Gun.
View productHere are some advantages of using 2000W Heat Gun for paint removing:

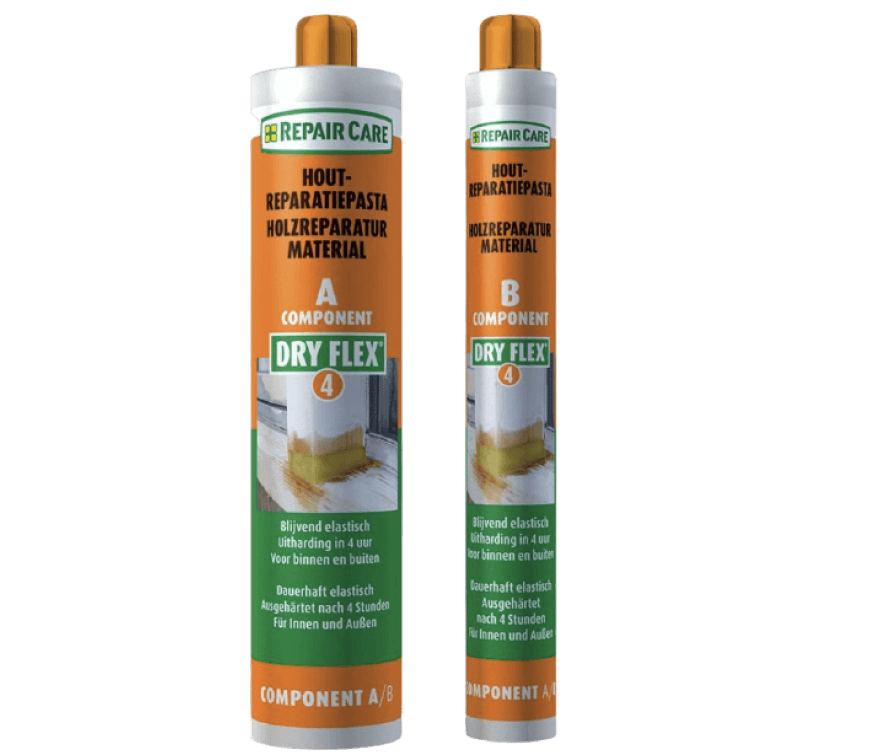
After you have done scraping and sanding, it is time to repair the timber with some epoxy filler. For advanced DIYers, I recommend using Dryflex for long-term results. It is a two-component, high grade and tested wood filler, which has also been approved for use on Grade 2 listed building window restoration.
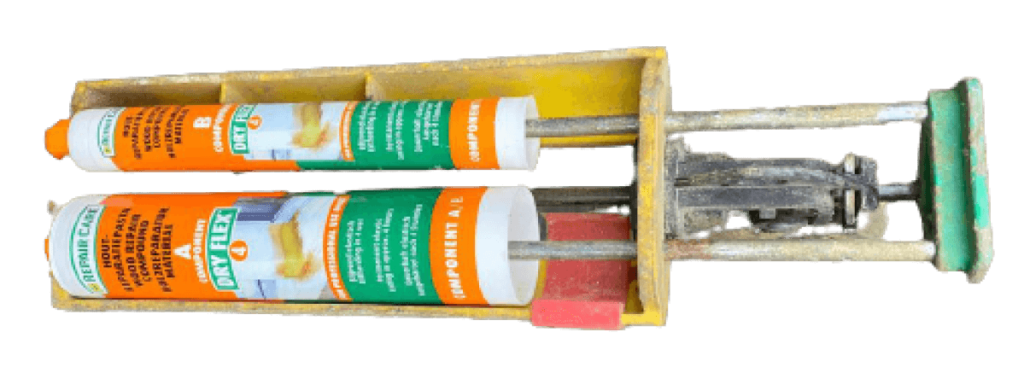
If you have come across two-component filler before, you know the trick. If you have not, here is the quick how-to guide:
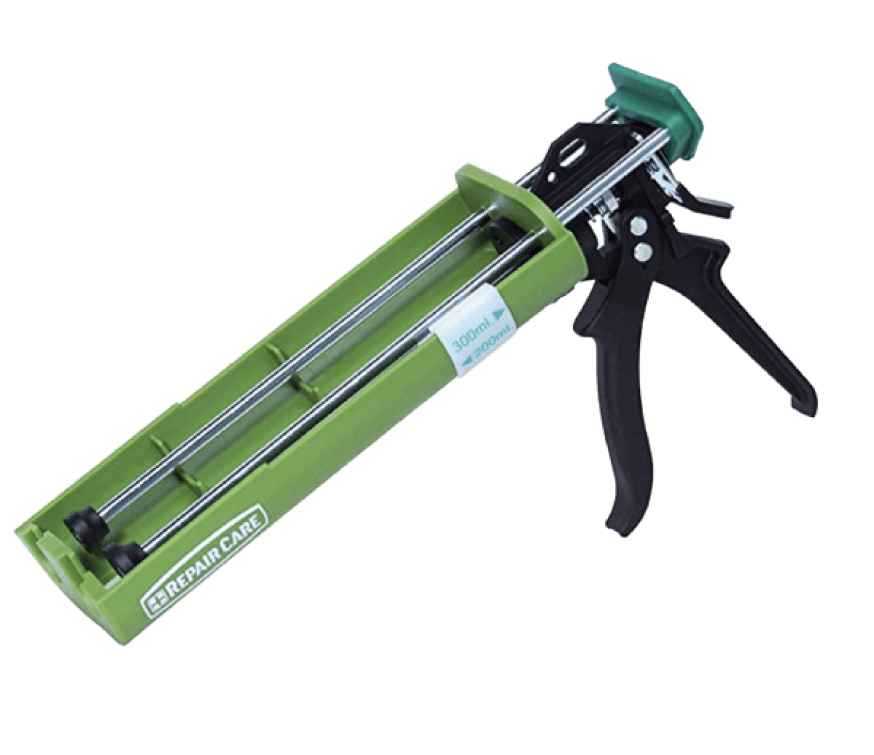
Use a dosing gun and dispense an amount of filler onto a spatula of the appropriate size. I advise using the dry flex original dosing gun because if you use it, you know that you always have the correct ratio of two components in the mix. (Do not forget to put on disposable gloves).
mix the two active components with each other thoroughly for about 2-3 minutes, until you get even consistency and colour (yellow).
Apply the filler to the places where you have removed rot and use spatulas to remove the excess of the filler and shape the filler.
Leave the epoxy filler to dry and afterwards sand it over with fine 150-180 grit sandpaper
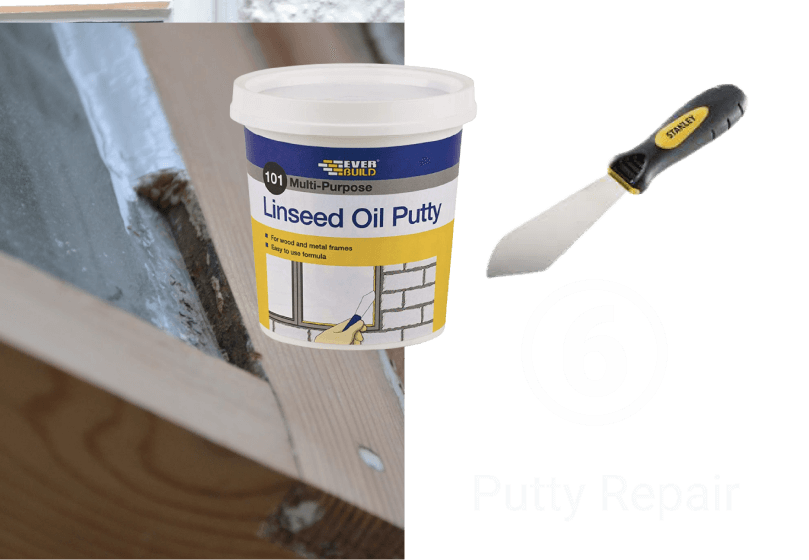
Now it is time to move to the putty. For this stage, you will need the least amount of tools and materials.
How long does putty take to dry?
Drying times vary widely depending on the product, many modern fast-drying products can take around 2-4 hours to dry, but for linseed based products for example you’ll be looking at a period more like 2 weeks. It is vital therefore to check the manufacturers instructions prior to the step below.
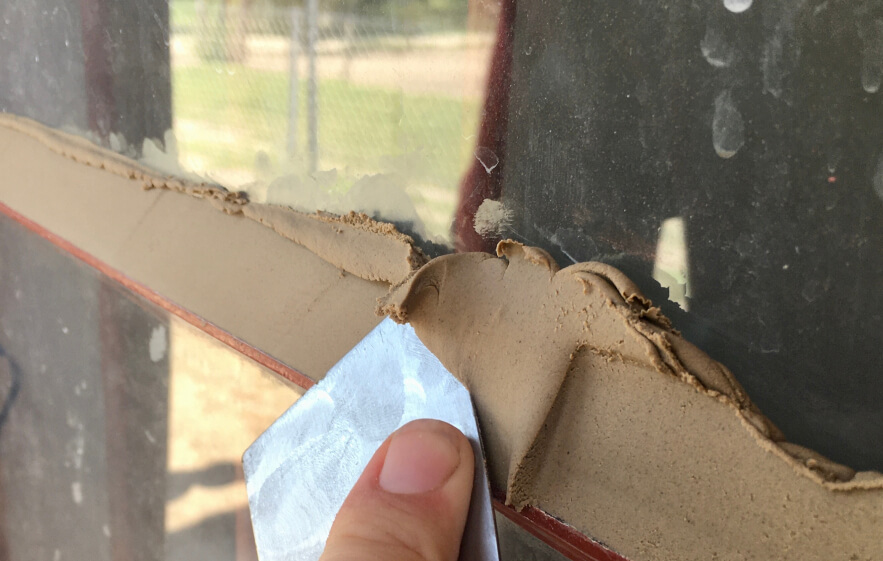
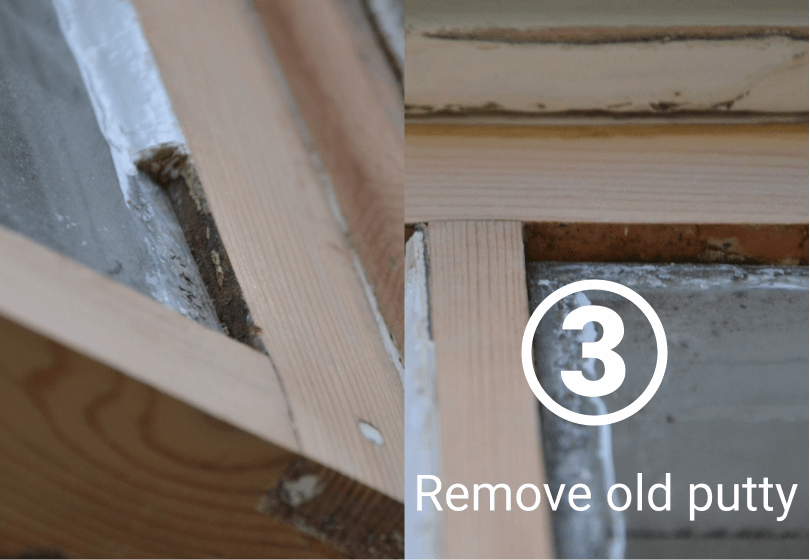
Isolate and remove cracked and otherwise worn areas of putty with your knife.
Be sure to do this process carefully with good control of your knife so as not to risk any damage to window panes. It is also possible to use a hacking knife and hammer for this stage to remove old putty in large volume, but this can be a slightly more difficult process if inexperienced.
In the case of a run of completely missing putty along part of the window be sure to prime this area first with a suitable wood primer prior to the stage below (putty application). This will ensure better durability and resistance to weather over time, you can also prime the entire window frame for good measure.
In this stage, you apply putty to all areas you either just raked out or where putty was missing altogether.
Moving your knife downwards and away from the window in a clean motion (again minimising the risk of damage), fill the gaps with new putty.
Be generous with the application but try and ensure that your line of putty matches the original/rest of the putty areas.
This will ensure consistency in the end finish and not leave certain runs of putty more raised and noticeable than others. A solvent agent such as white spirit or Methylated spirit smeared lightly on the blade during this process will also aid a cleaner finish.
After sufficient drying time, you’re ready to go on with the paint. Using a suitable exterior paint, and a fairly small-headed synthetic brush, apply paint across all areas of putty. Alternatively, you can use a paint sprayer for painting your windows, here is our Best 5 paint sprayers review.
Another tip at this stage is to try and overlap your paint about 4mm above the putty line onto the window if possible, this will help ensure a better seal against the weather, preventing rain from creeping in between the glass and new putty line.
It’s also possible to use a delicate tape at this stage on the glass to clearly mark out your paint line and prevent overrun onto the glass above (low tack tape is important here though so as to avoid leaving marks on the windows)
8. Use an exterior sealant to seal the gaps between the wall and window
When you are done with the putty, let it dry; meanwhile, seal the gaps and joins and your wooden window is now repaired and ready for the next stage, which is wooden windows painting. If you are unsure about which paint to pick for your windows, read our article about the 3 best exterior wood paints.