Today, we’re looking at how to restore sash window functionality by replacing sash cords. If the thought of replacing a sash cord sounds intimidating to you, don’t worry.
With some basic tools and DIY knowledge, just about anyone can replace a sash cord in their traditional sash window and get it working correctly again. With this handy guide, you’ll have your sash windows working perfectly in no time, without the costly call-out charge for a carpenter!
The most common reason for a broken cord in sash windows is simply worn and tear over time. Sadly, there’s no way of preventing this wear and tear, and most sash window cords will break during the lifetime of the window.
If one cord breaks, the window will likely still be able to function. However, there will be added weight on the working sash cord, so it is still worth replacing.
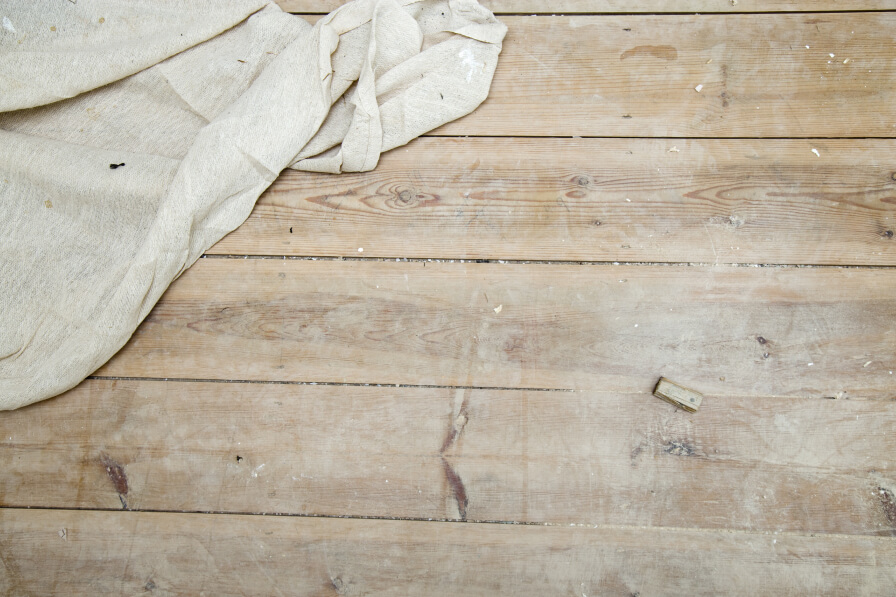
Laying down dust sheets before you start repairing your windows is a really good idea. While replacing a sash cord isn’t too dirty of a job, it is always better to protect your valuables during any DIY.
If you have a workmate or something similar, this is a great place to lay out your tools.
Having the tools organised and preparing a space for the sashes to sit as you work reduces the time the whole project will take.
Remove secondary glazing if there is one.

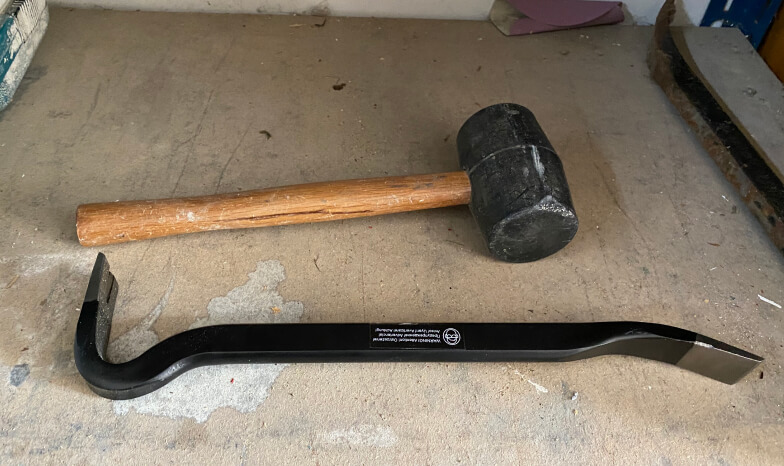
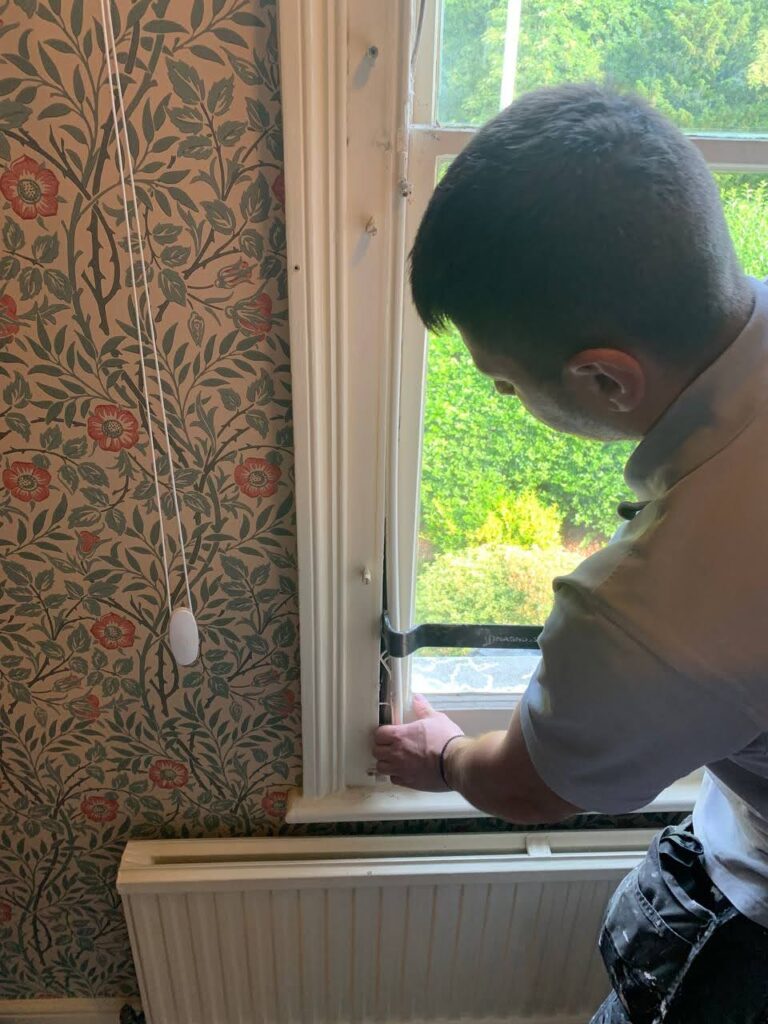
Grab a scrap piece of wood and your hammer. Line up the edge of the wood with the paint seal around the staff bead and give it some gentle taps with the hammer.
This should be enough to release the sealed paint and the staff bead will come off nicely. Take off the staff bead and clean off any caulk and paint with a chisel.

The staff bead is a piece of detailed trim on your sash windows. It keeps the sashes in place in the sash box, and most are installed on a removable popper system. So, you can remove and replace the staff bead for sash cord maintenance and other tasks.
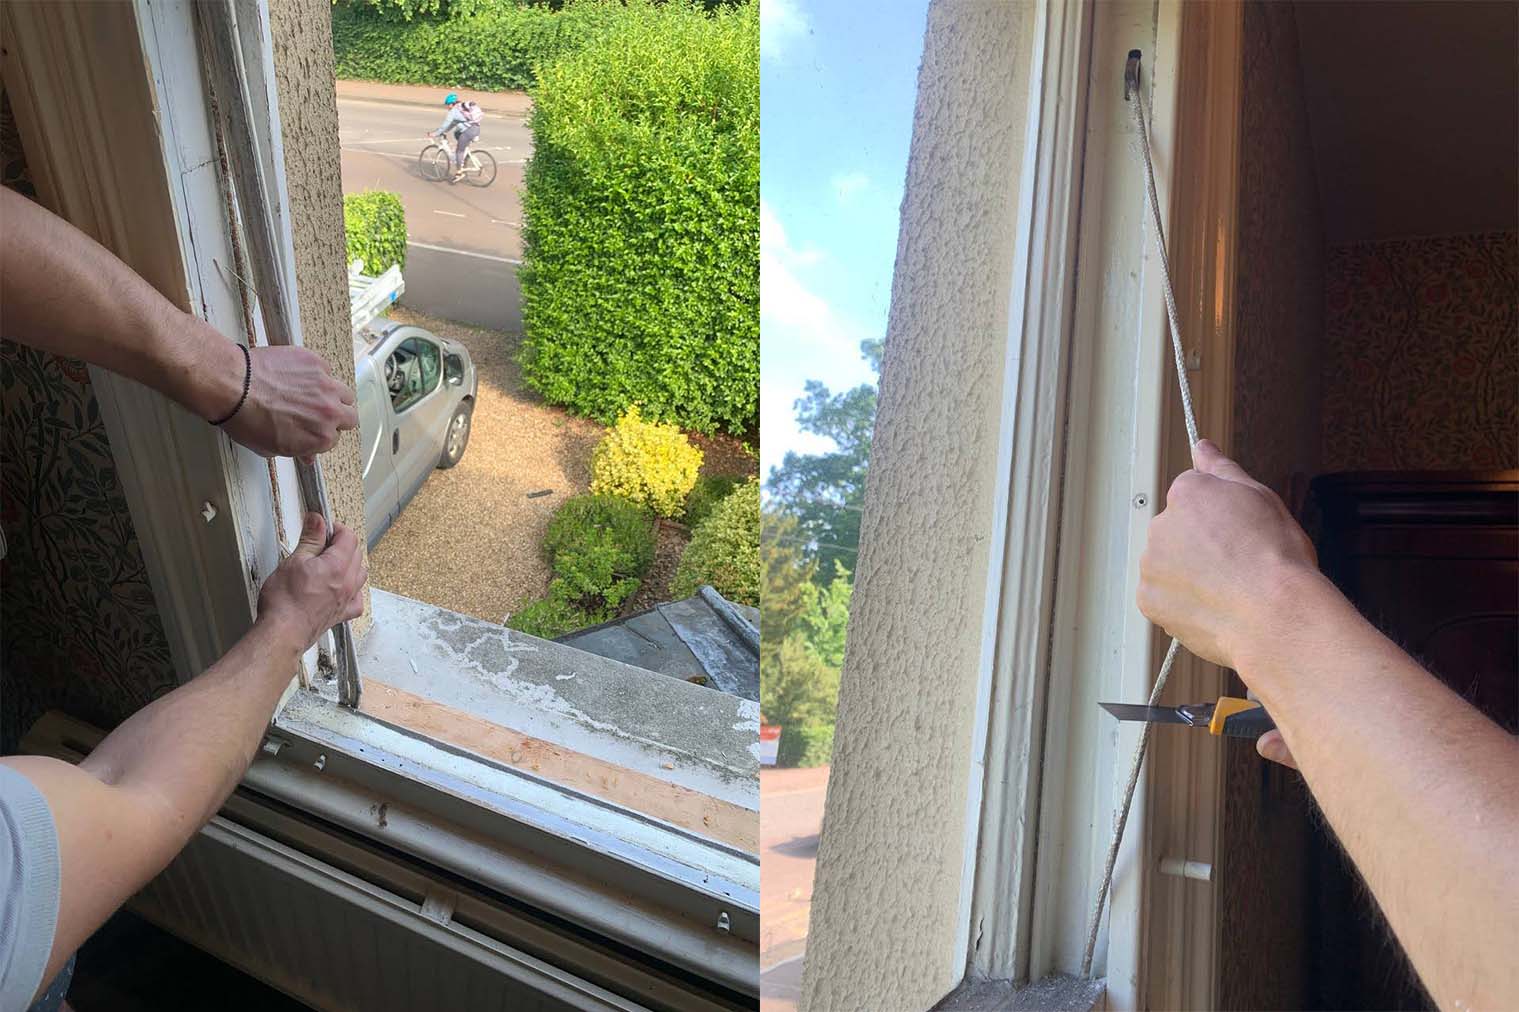
Cut the cords attached to the lower sash and then lift it out. Leave the lower sash out of the way for the moment.
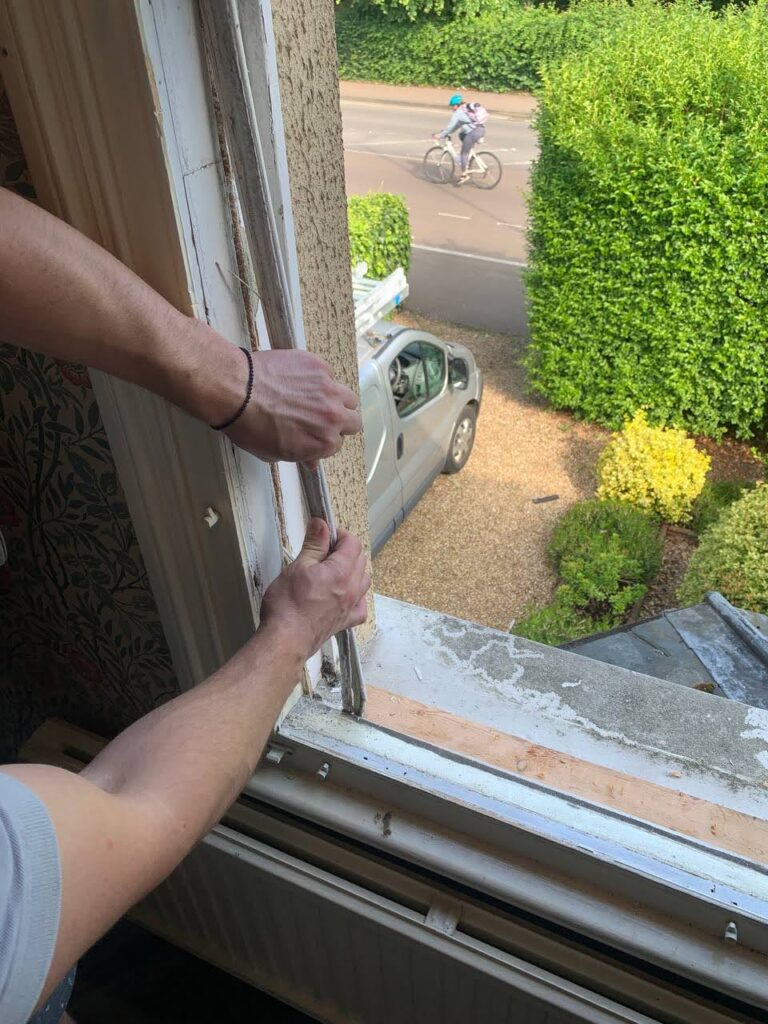
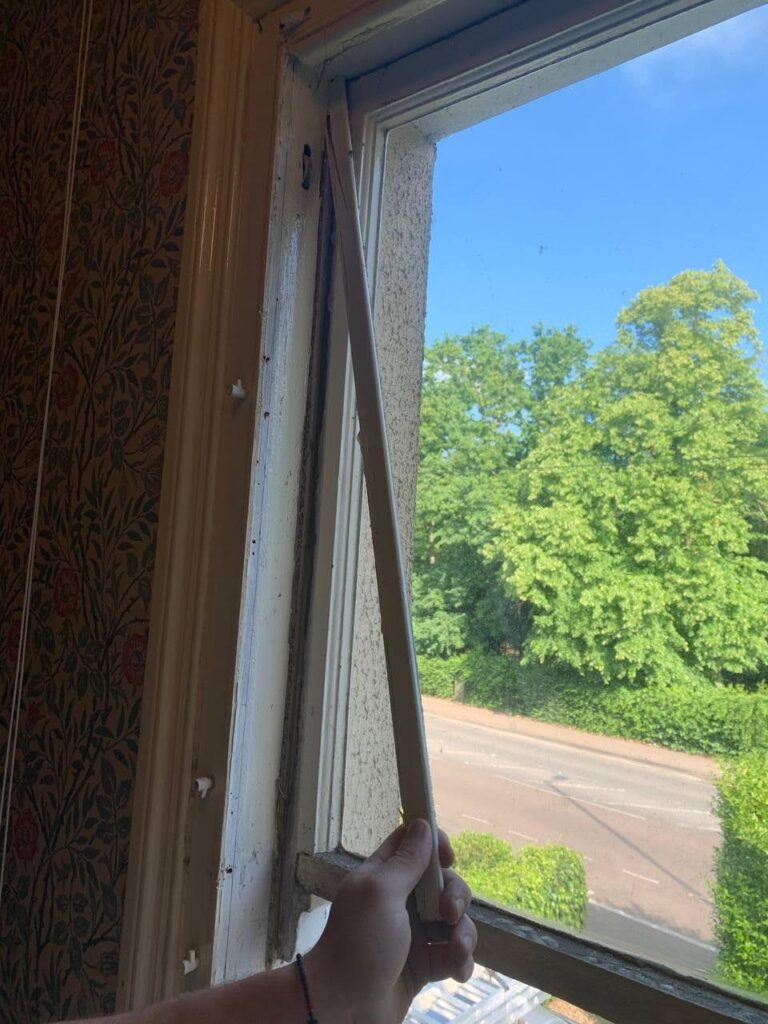
Removing the parting bead is much the same as the staff bead, a few knocks from your hammer and block of wood are usually enough to free it and remove it. It’s worth giving the parting bead and the grooves it runs in a clean at this stage, ready to reinstall later.
Open up the box that contains the sash weights and lift them out entirely.
With the lower sash and weights out of the window frame and out of the way, you can now remove the upper sash and its weights. Pull the sash down and cut the cords. Lift the sash out of the way and then remove the weights from the frame.
This is where a tool called a mouse comes into play. A mouse is a specialised tool designed to help you thread your sash cord through the pulley system. You don’t need a mouse for this job; you can, instead, thread the cords manually.
Once the cord is through the pulleys, you can reattach the weights and cut the cord to length.

A good way of measuring the correct length for a sash cord replacement is to measure the entire window opening from the sill to the very top of the jamb and add six inches. There is no need to cut the sash cord in advance, though; a small mark with a pencil is fine for now. You can thread it through the pulleys, pull it tight and then cut it to length and install the weights. This allows for little adjustments to be made after installation.
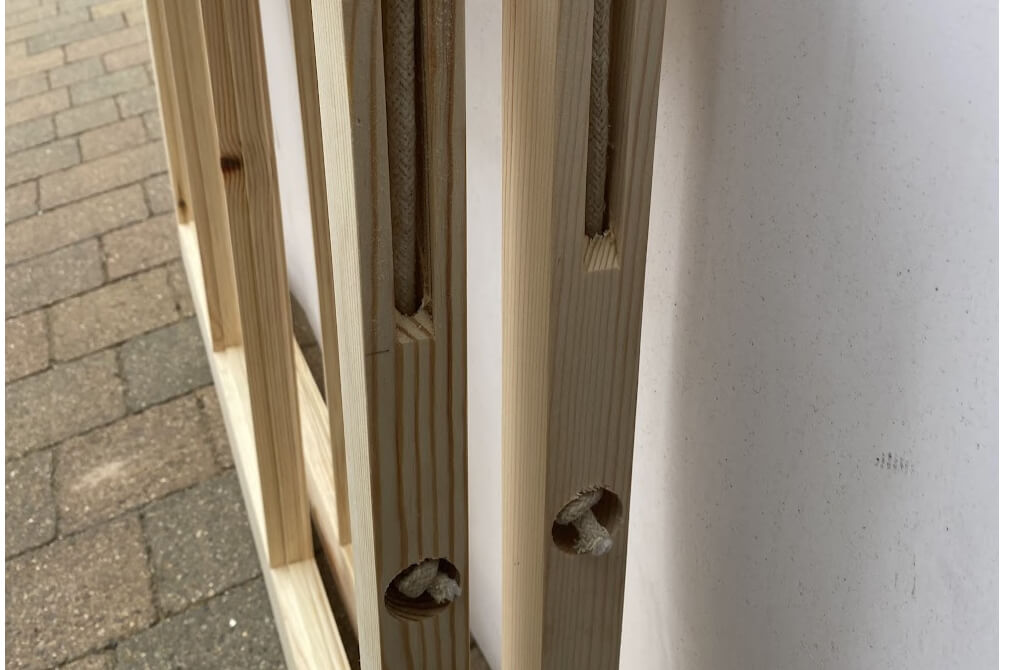
The replacement sash cord is attached to the window using the channel cut into the window frame and a knot to hold it. The cord is then attached to the weights also with a knot.
Now the knots are fairly straightforward for both the window frame and the weights; they just need to be self-tightening knots that will hold the cord securely in place.
Start with the top sash and give it a test to ensure that it closes all the way. If the sash ropes are too long, the sash won’t close. After this, install the parting bead that you cleaned up earlier. If your parting bead and staff bead were nailed in place, you’ll need to carefully hammer nails back into the holes present in the beading.
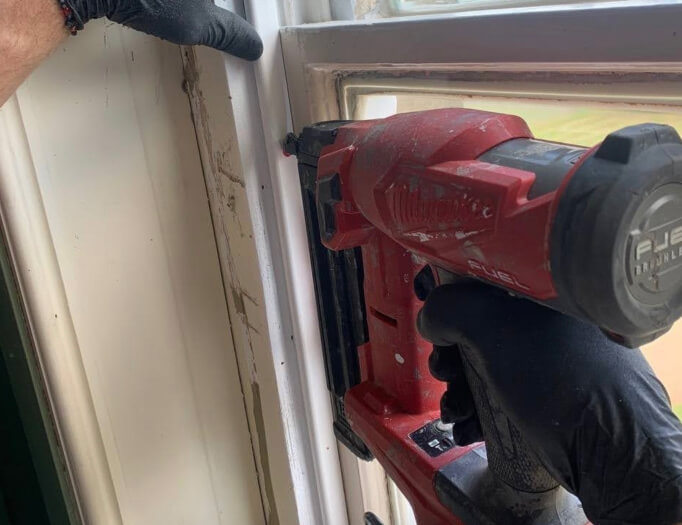
Then install the lower sash. Again, check the lower sash has a full range of travel when you install it. Finally, you can install the staff bead again and give it a final test. It is worth lubricating the sash cords with something at this stage.
You can use silicone lubricates, but the lubricate used for hundreds of years for sash cords has been candle wax, and this works a treat too.
Using the method above to replace your sash window cord, if you have all the tools mentioned, you can likely do it for under £10-50. It may take a few hours, depending on your DIY knowledge, but a few hours and a few pounds are much cheaper than hiring sash window specialists to come out and fix one window, as usual, it cost around £160-250 for callout service to replace the sash window cord.
If you have a lot of windows with broken sash cords, it may be worth hiring someone if you are not confident in your DIY skills.