At some point in any painting and decorating project, you are going to need to use wall filler. Wall and wood fillers can be intimidating if you’ve never used them before. Using the best wall filler you can is one way of ensuring success, as if you pick the wrong product, you will waste a lot of time because it might crack, shrink too much, or be difficult to cover later when it dries.
So we’ve listed a few top wall fillers we’ve used throughout our years of professional painting and decorating, and those products saved us hundreds of hours of work.
We also have some helpful tips about filling holes in walls and ceilings that will come in really handy when you’re trying to master fillers. So, let’s look at how to use wall fillers and then take you through our picks for the best wall fillers in the UK.
Quick-drying does not crack, easy to mix and apply. Work well on small and large cracks.
There are different types of wall fillers, each suitable for specific purposes.
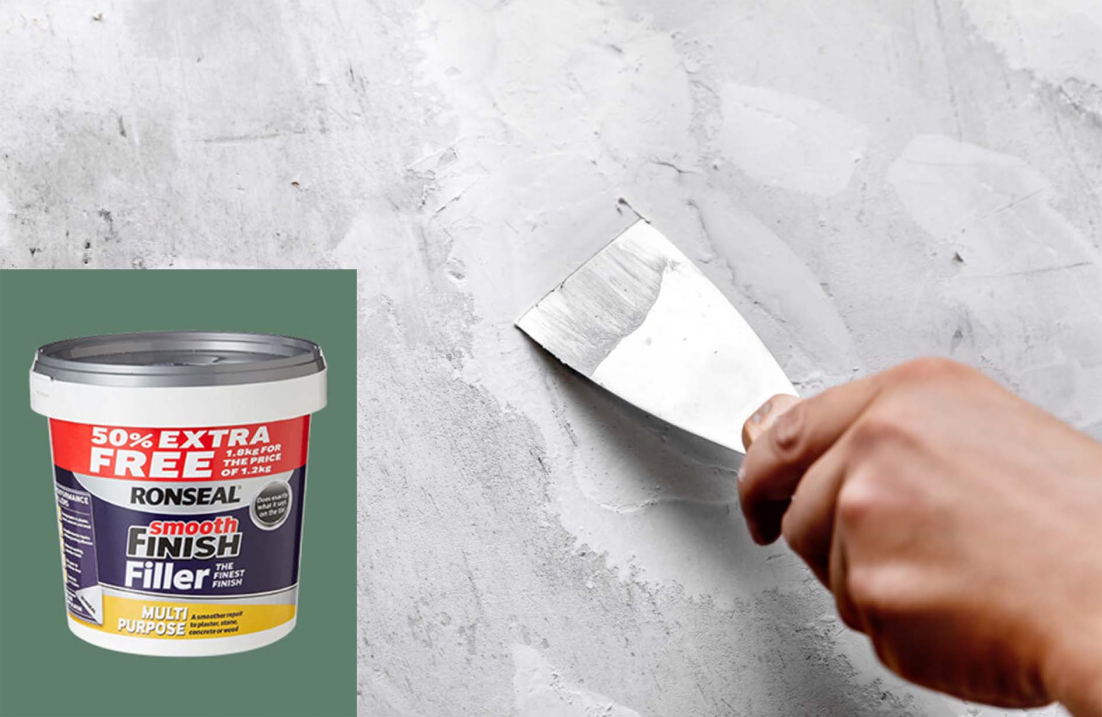
Ready-mixed fillers are ideal for quick and small jobs as they come pre-mixed and ready to use.
Powder fillers are versatile, allowing users to mix them with water according to the needed consistency, which is ideal for larger areas.
Deep fillers are intended for filling deep holes without shrinking or cracking, providing a permanent repair to larger damage.
Flexible fillers are ideal for cracks that expand and contract with seasonal changes, preventing future cracking.
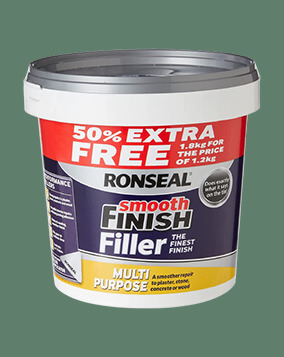
Lastly, multi-purpose fillers can be used on different surfaces, making them a great all-round option for general repairs.
Choosing the right type of filler for walls depends on the surface, hole depth, and the required flexibility.
Before you begin filling any holes in a wall, you need to clean and prep the area. Use sugar soap to give the area a good scrub. If you don’t clean the area, the wall filler will simply bond to the dust and grime and not the wall itself.
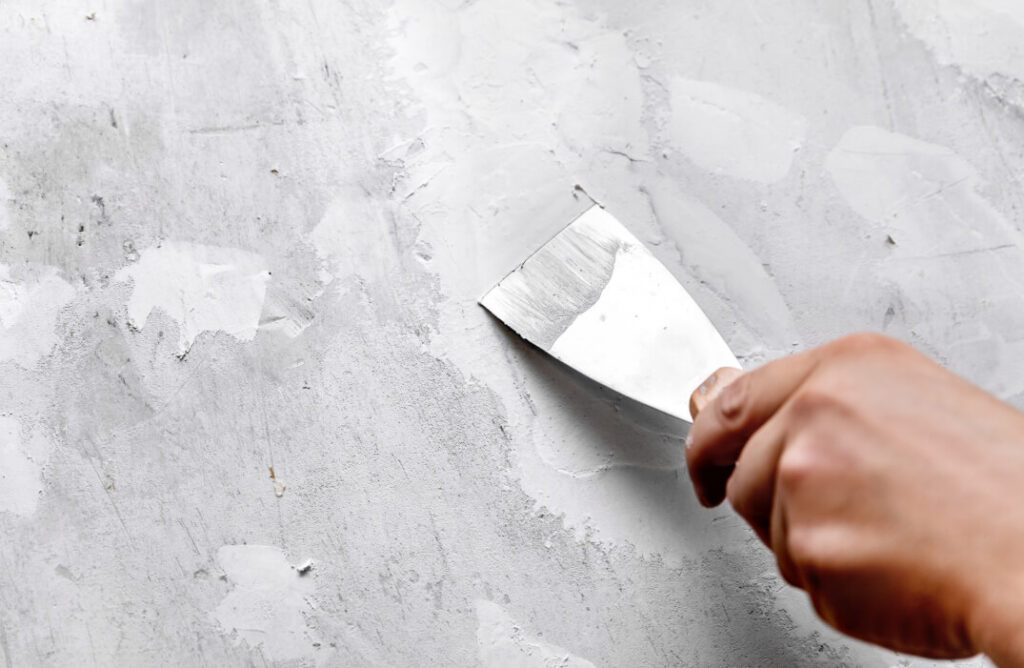
Using a flexible putty knife, you can now fill in the holes and cracks. Apply some filler to your putty knife.
Use more than the hole requires to ensure it is completely filled. Start at the very edge of the hole, and press your putty knife onto the wall, so it begins to bend. Then, slowly and with moderate pressure, run the putty knife over the hole.
This method ensures that the filler will bond nicely into the hole, but won’t stick proud of the surface of the wall, so clean up will be easy. Scrap off any excess as you go with a wet putty knife, as this, once again, speeds up clean up.
The biggest mistake many people make with fillers is not letting them dry completely.
Check the packaging of the filler you are using to see the drying time and ensure you leave it for at least this amount of time. If you are filling a large area, the drying time is likely to increase. I
f you can, leave the filler to dry for longer than stated, it makes clean-up much easier and ensures it has bonded strongly to the surface of the wall.
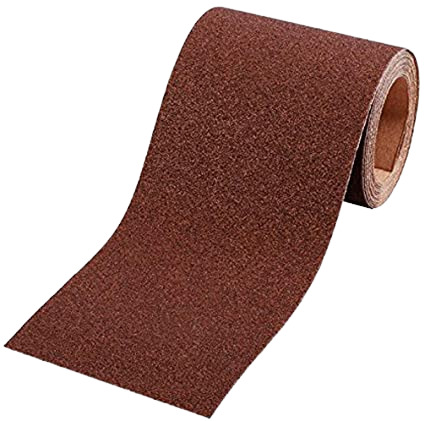
Keep in mind that if you’ve applied too much filler, you can always sand off the excess. Once it’s dried, use fine mesh backing sandpaper to achieve a smooth finish.
Now it comes to sand. Please wear a dust mask and open some windows for good ventilation. Use a large sanding pad that will contact the wall and the filler at the same time. This ensures the filled surface is flat to the wall and will leave a brilliant finish ready for painting.
After this step, you are ready to apply some paint to the walls. If you are not yet sure about the amount of paint you need, please use our handy paint calculator, which will tell you the exact amount of paint you need to buy so you do not run out or have too much leftover.
The drying time of wall filler greatly depends on how thick and large the area is that you’ve filled. For smaller holes and cracks, the filler can dry in under an hour. However, larger filling jobs can take over 24 hours to dry. To ensure the fastest drying time possible, follow the instructions on how to mix the filler you’re using correctly.
You can also turn the heating up in the room or open windows to create a draft which will dry the filler out quickly.
It is really important that you don’t interact with filler as it dries. If you do, you can introduce dents and marks into the filler that you’ll need to fill again. So, if at all possible, do all your filling a few days before you want to paint. That way, it will be perfectly dry when you come to sand it.
If you have huge holes in your walls to fill, it is best to buy a deep-fill filler. This can be applied just as you would a standard filler and doesn’t need to be used in layers, so you can simply fill the hole and leave it to dry.
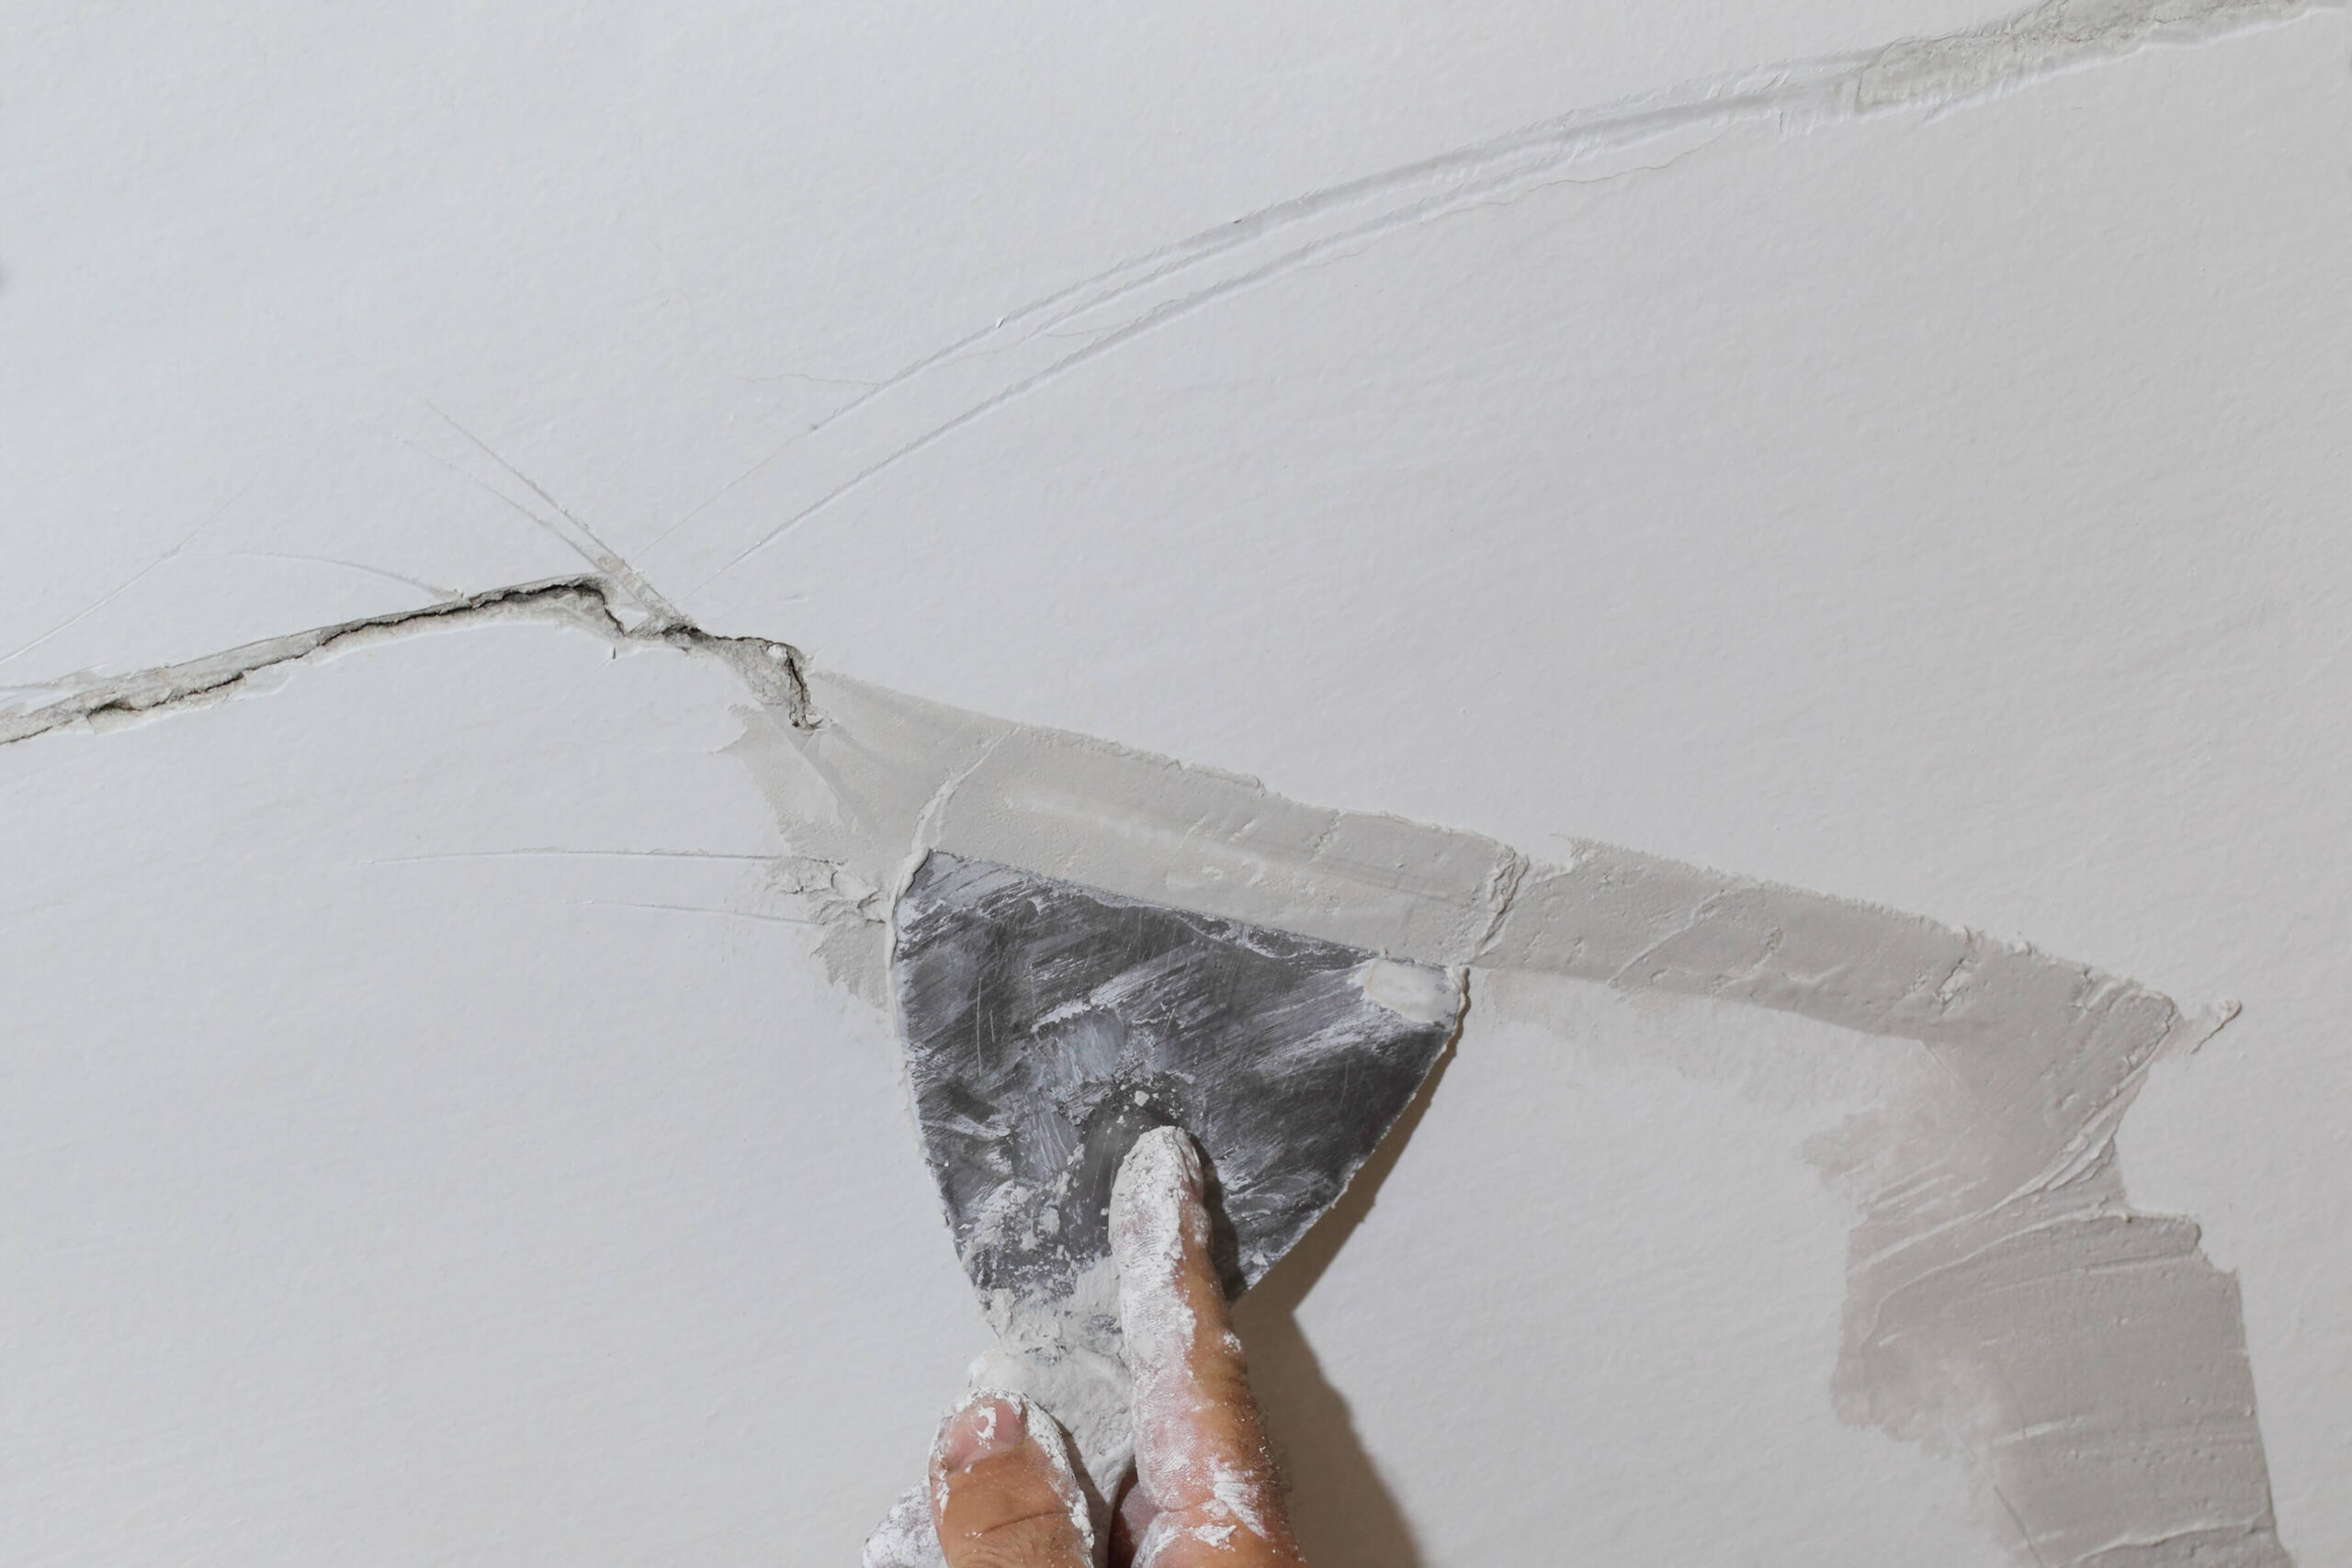
To fill large holes in walls, start off by cleaning the area and inside the hole with a brush. This removes any flaking plaster and paint and will ensure a good bond.
Next, take a large amount of deep-fill filler on a putty knife and press it into the hole. It is best to use a putty knife that is larger than the hole so that you can reference the wall, running the knife along the wall to ensure a smooth surface. Feel free to overfill the spot, but there’s no need to be wasteful with the filler.
Finally, wet your putty knife. Working from the edges of the hole, pull the filler outwards. If you simply run your putty knife over the spot from top to bottom or side to side, the filler will likely pull away from the hole.
Once you’ve ensured the hole is filled correctly and the filler on the surface is smooth, you need to let the deep-fill filler dry. Most will take about 12 hours, but leaving it for 24 hours will ensure it is completely dry throughout. Next, you can sand it with a sander using a hoop & loop fine grit sandpaper and then paint.
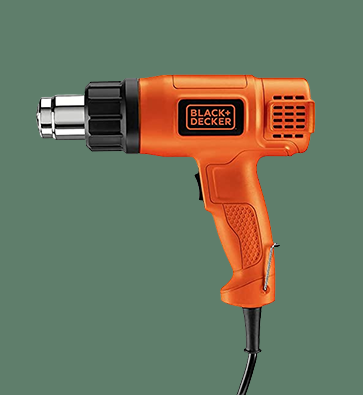
If you are really in a rush to fill the holes in your wall and paint, use a heat gun on the filler to speed up drying times. Keep the heat gun moving in circles as you focus the heat on the filler, and keep the heat gun about 8 inches away from the wall to avoid burning the filler or the paint. This can dry filler in a few minutes.
Just be careful you don’t burn the filler as this can cause it to crack and shrink.
120-grit sandpaper is the best grit to use on filler. Ensure you buy good quality sandpaper as this will prevent it from clogging, and you’ll use less as you prep your filled areas for paint.
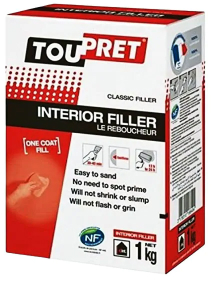
This Toupret interior filler is the best we have ever used. You can fill any holes you have in your walls, and there are no limitations on thickness. It bonds very nicely to paint and plaster and is easy to sand down. Once this filler is fully cured, you can nail and screw it into it without affecting it at all. It doesn’t shrink over time, and it sets in just 30 minutes in small holes and cracks.
Plus, a 2kg box goes a long way. You’ll likely be able to fill every gap in every wall of your home with a single box, and once you’ve finished filling, it will be ready to sand!
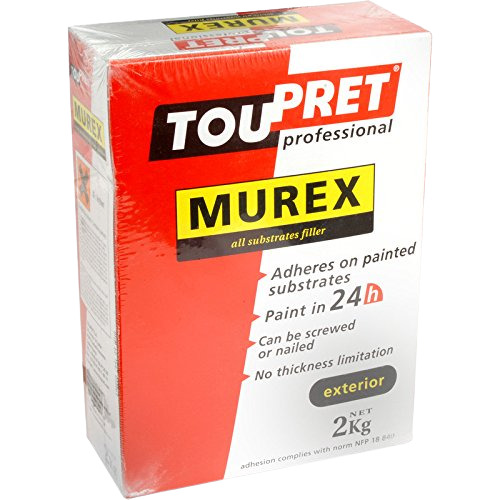
We did a lot of hole filling on external walls while painting masonry, and this is the best exterior filler we have found over the years. Once again, it has no thickness limitations, so you can use it to fill huge holes in a single pass.
Plus, it won’t shrink or crack even after being exposed to the elements outside. It has a full cure time of 24 hours, but the surface sets up in 30 minutes, allowing you to sand your walls very quickly.
If you are planning to paint your house masonry and researching products you will need for this job, you should also check our article about different masonry paints, it should be an interesting read for you.
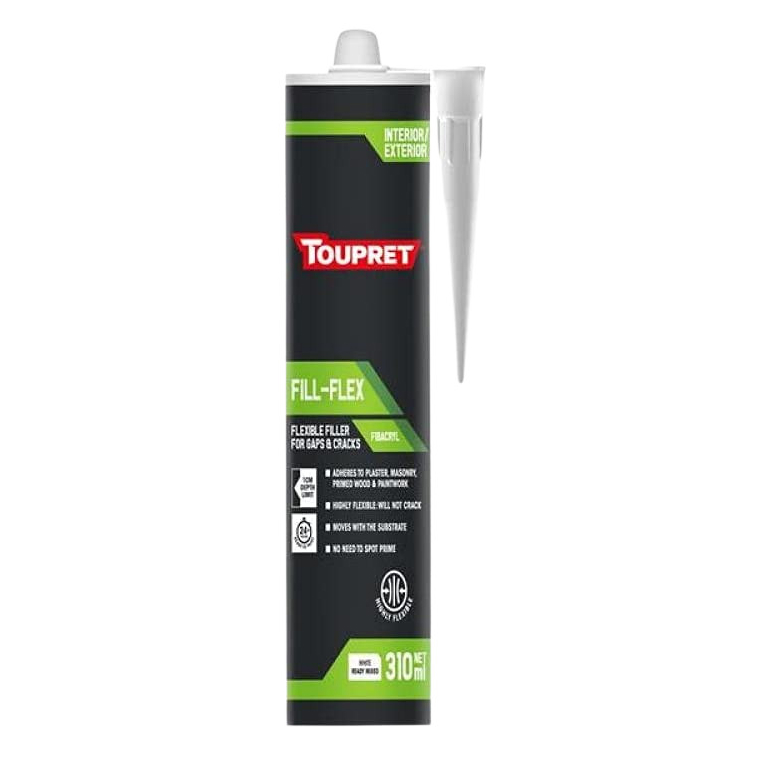
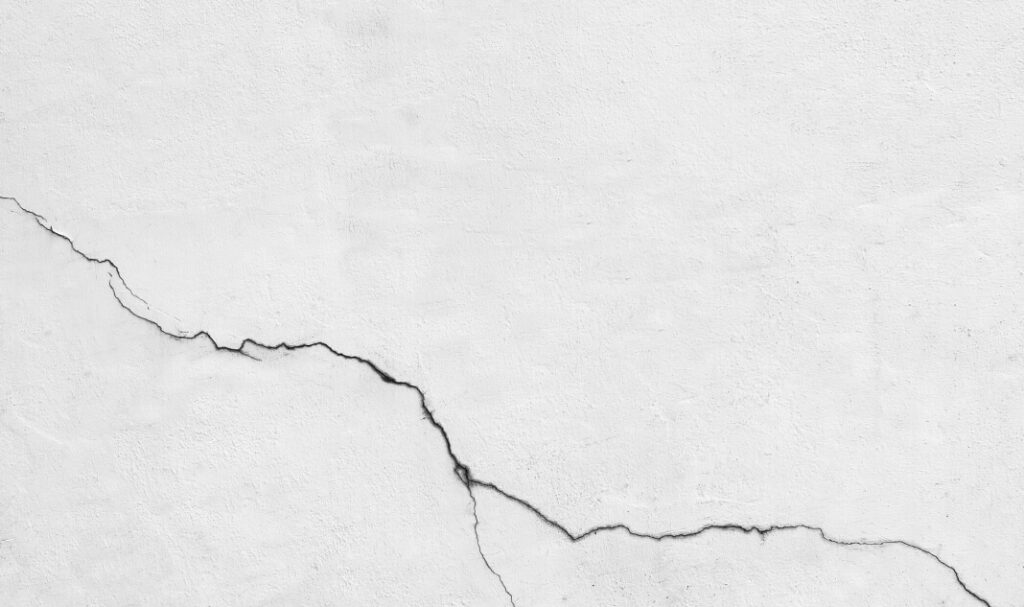
This wall filler is perfect if you have cracks in your home that are going to move during the seasons. You need a filler that will move with the cracks. Otherwise, it will fail over time.
This filler can be used in a caulking gun and comes with a very fine tip, so you can get the filler deep inside the cracks in your walls. This stuff will bond to anything, from wood and brickwork to painting and varnish. It will create a solid but flexible bond that will last for years.
This one is good for quick, small jobs where you do not want to spend time mixing the solution. Just the caulking guy and you are ready to apply the filler precisely.