Sash windows painting using paint spraying. Timber sash windows painting guide.

If you want to find out more about sash window painting, you’ve come to the right place. Chameleon Wooden Windows Restoration & Decoration offers professional wooden window painting services as well as sash window refurbishment and sash window double glazing and we know a great deal about timber windows maintenance.
Here you will find a professional guide to sash windows painting.
There are a few telltale signs that it’s time to have your wooden sash windows repainted, including:
Newly installed windows will typically need repainting between 6 and 10 years after installation, depending on their quality, the amount of UV exposure they receive and the paint colour (darker colours absorb more UV light and can degrade faster).
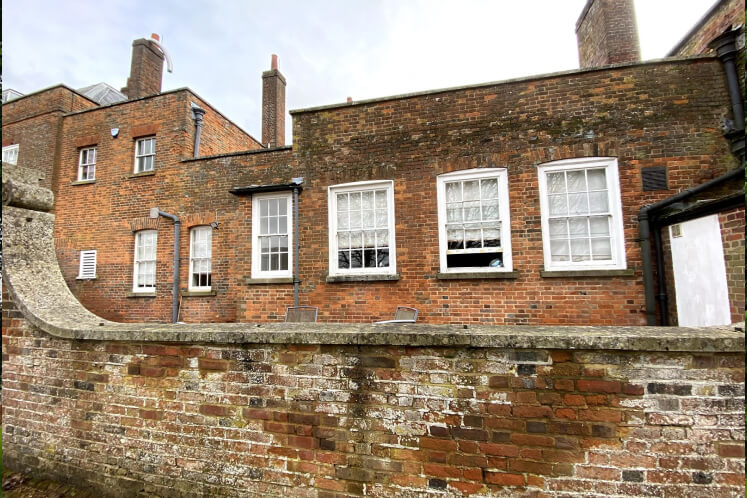
Older sash windows need more upkeep, with a typical maintenance cycle of around 3 to 5 years.
However, with the proper sash window refurbishment, your sash windows can be repaired and the maintenance cycle pushed back to around 10 years.
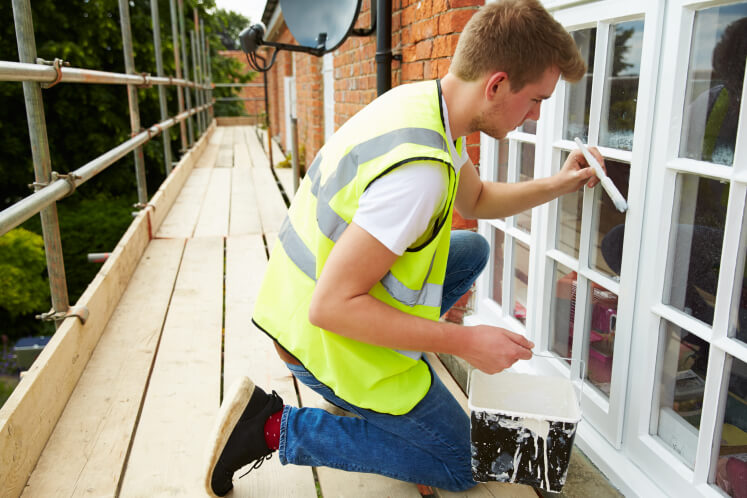
Painting with a paint brush is effective indoors and reduces the need to cover a large area with masking paper and tape for paint spraying.
It’s also good for those on a budget if you do not have a paint sprayer or properties with only a small number of windows to cover.
If you’re completing the job alone, brush painting is the way to go.
However, with a small team of two to three professionals, extensive spray painting jobs can be completed in one day.
Your sash windows can be prepared for spraying in the morning and painted in the afternoon, with the job completed and all materials cleared away before the end of the day or the next day morning.
To achieve the perfect paint surface finish, a strict process must be followed. Our professionals have experience working with this equipment on a daily basis, and they have the knowledge needed to troubleshoot any problems that arise to achieve the perfect finish.
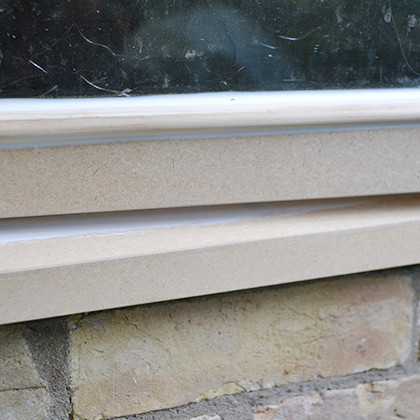
Without addressing any underlying damage, new paint on wooden windows won’t last for long.
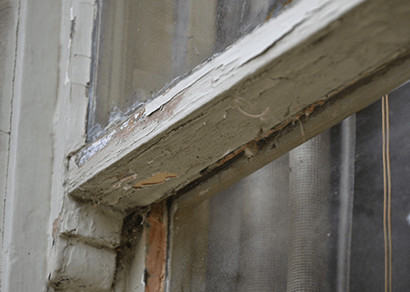
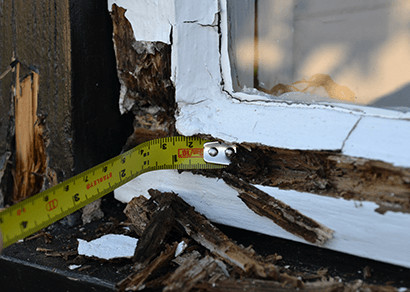
Any signs of rot have to be removed, and all old paint has to be stripped away, otherwise, it will peel off under the layer of new paint.
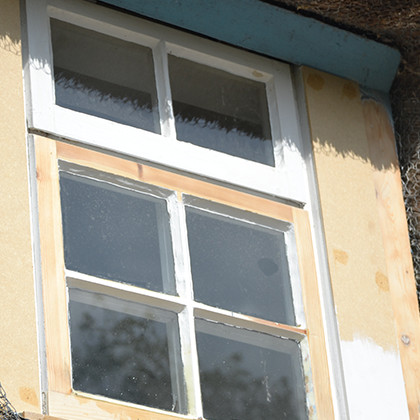
Based on our experience 90% of damaged or old wooden windows can be repaired with epoxy resin or by replacing rotten parts of the window frame with new timber.
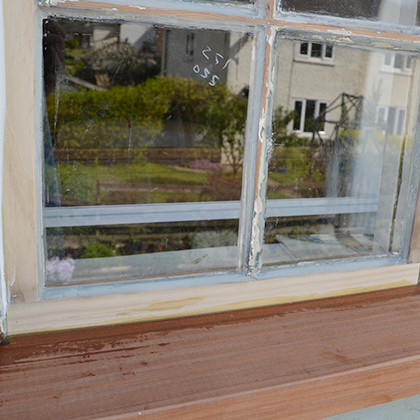
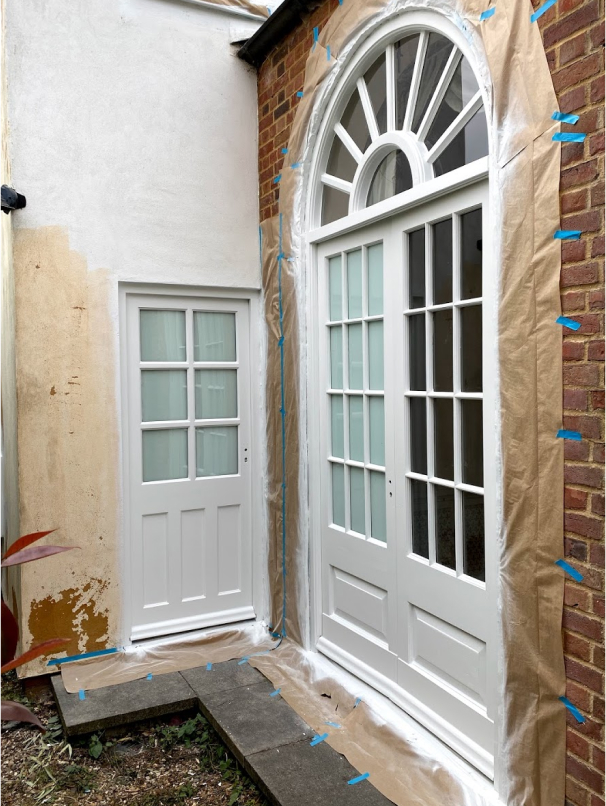
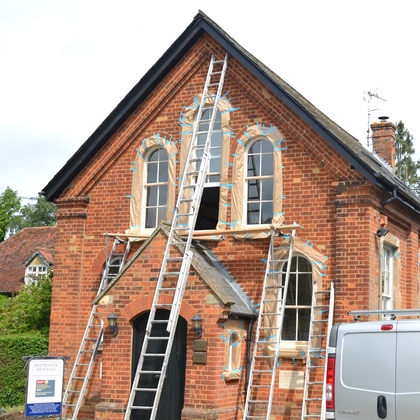
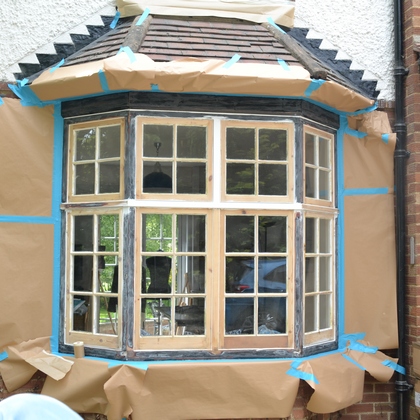
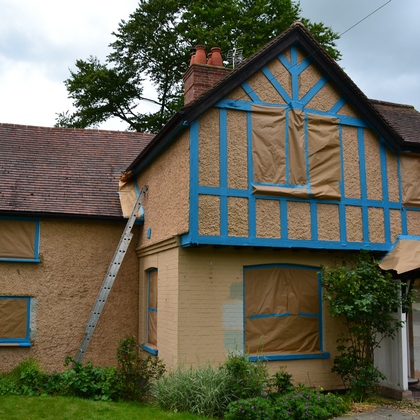
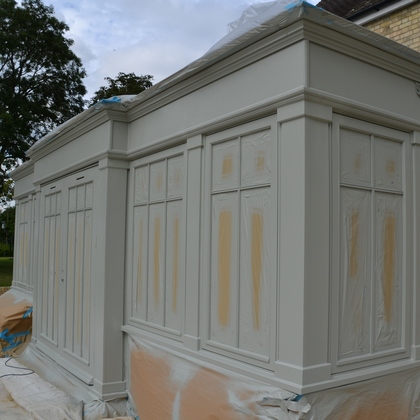
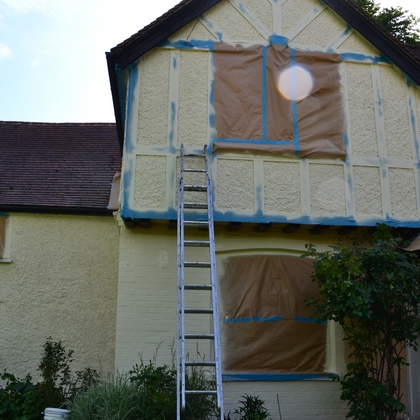
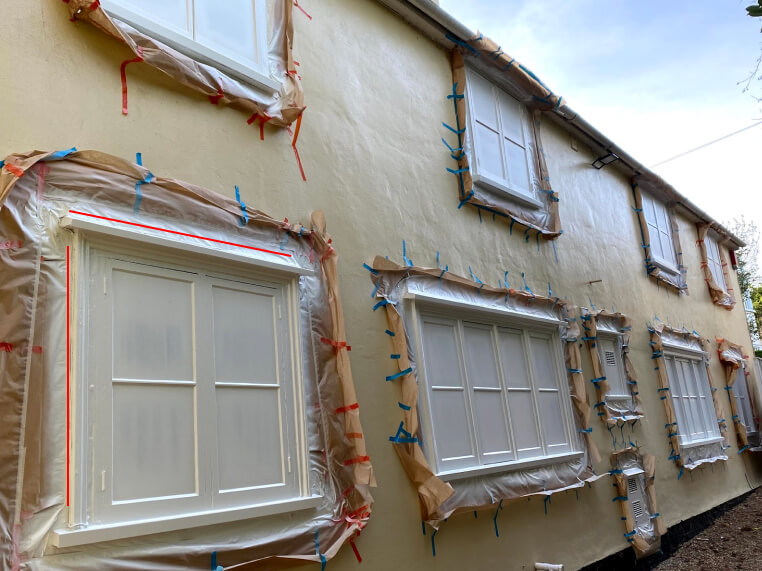
To avoid getting paint on the surrounding areas, we apply heavy-duty masking tape and film onto the surfaces around the sash windows.
Window glass isn’t covered with masking materials – unless it’s textured – as a sharper edge can be achieved when the paint is cut away from the edge.

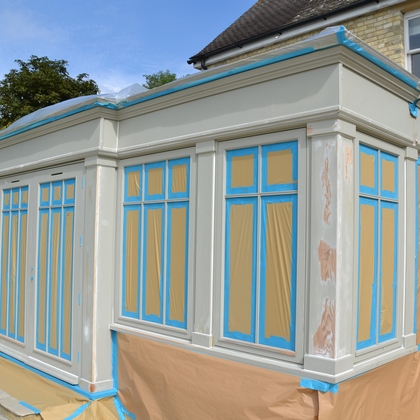
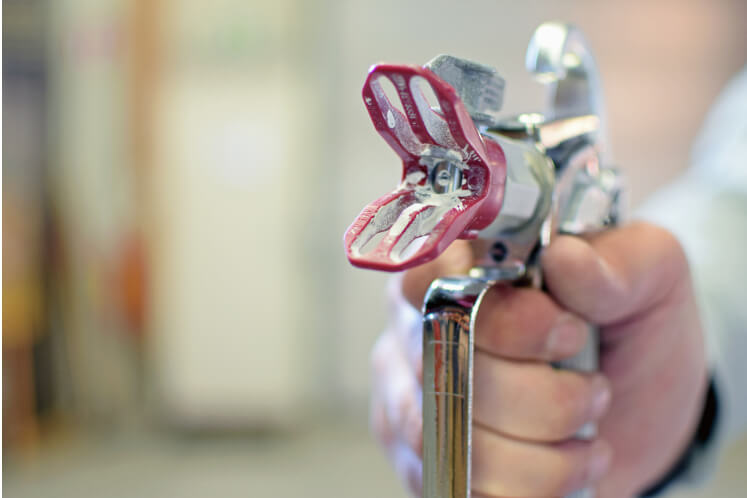
We use paint sprayers to paint traditional sash windows. Once your surfaces are properly protected, you can start to apply paint. The first coat, a thinner coat of paint, is applied as a fast-drying primer, after you can not see signs of wet paint you can apply a second, thicker coat.
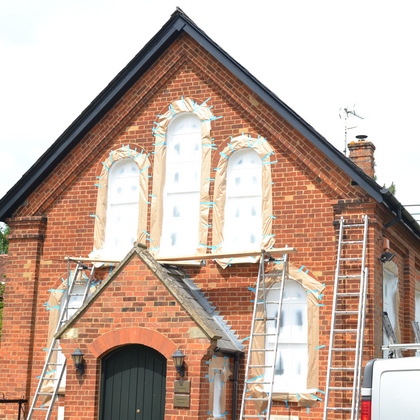
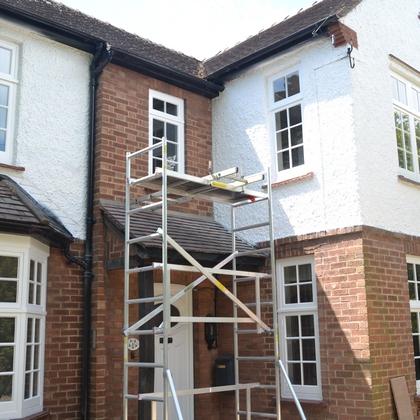
You should always start paint spray sash windows on upper floors first and move downward.
It is also a good idea to paint the sunny side of the building first as the paint will dry quicker for the second coat.
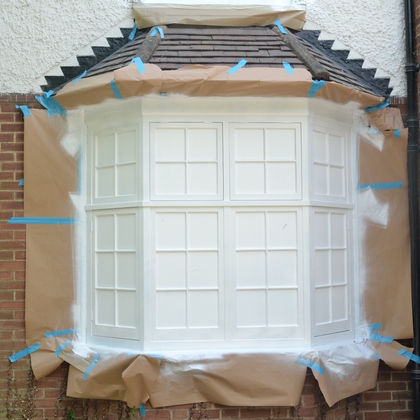
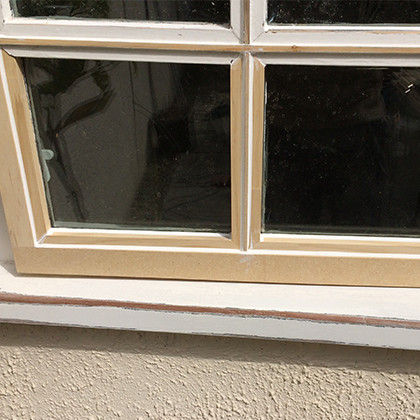
When the paint has dried on your new sash windows, it’s time to remove the masking materials from the surrounding areas and scrape off the paint from the glass, leaving neat, sharp edges.
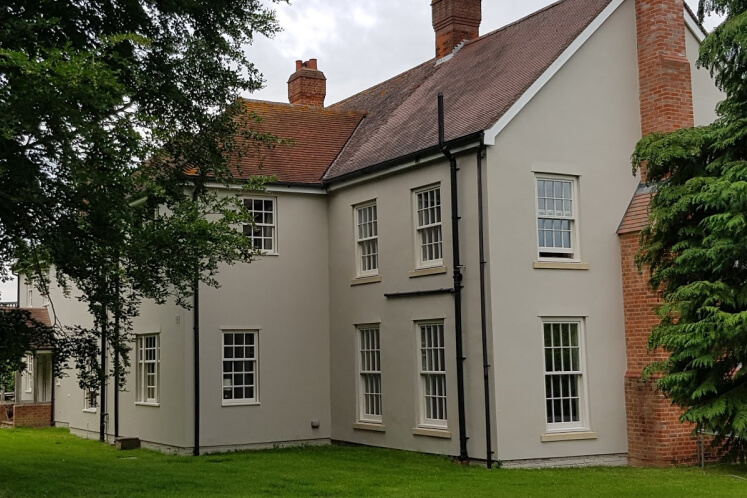
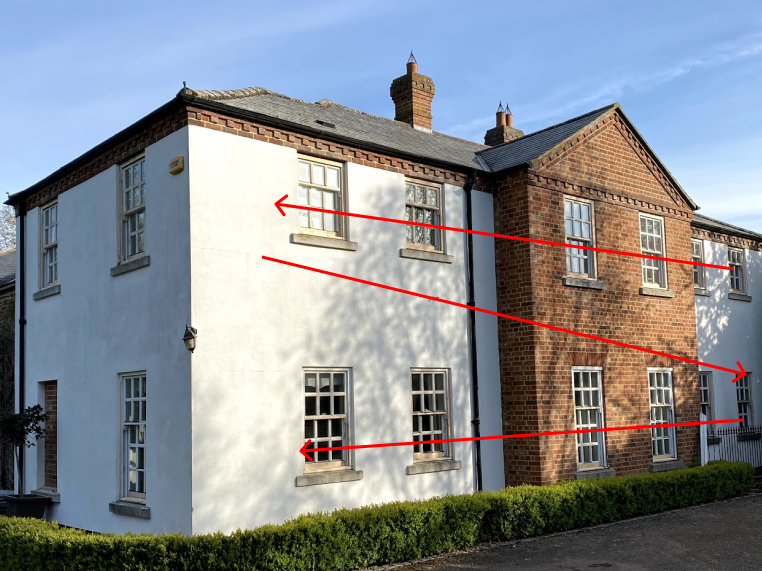
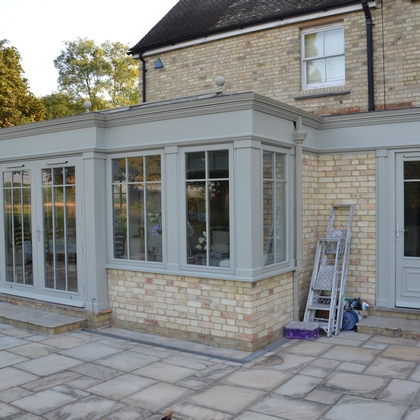
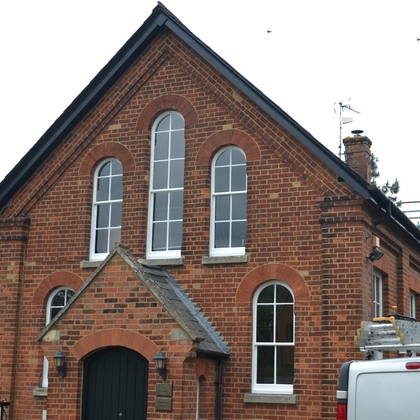
Take a look at some of our finished projects to see the results you can expect.
You should first remove the masking paper from the window surrounding areas.
Be extra careful not to peel off the fresh paint, cut the masking tape edge close to the timber frame with a utility knife.
Professional decorating companies are quickly adopting spray painting as a preference over traditional brush painting methods. Not every company will offer this service, but spray painting sash windows is always our first choice. Here are just a few of the benefits of choosing a spray painting technique over brushes for your sash window:
When the paint is applied with a brush or roller, user error can easily result in uneven coats. Aside from appearing rougher, this can also lead to chipping. Spray painting applies the paint more evenly across the sash window frames and mullions. There is also greater control over dispersion when painting, meaning that a primer and undercoat can easily be applied.
When the paint is sprayed, the fine particles are able to penetrate the wood’s surface at a deeper level; this results in greater coverage. Conversely, when applied with a brush, the paint sits on the surface of the wood. When your wood expands and contracts under natural temperature fluctuations, the paint can crack and allow moisture to penetrate the surface. This can then lead to peeling and flaking paint.
Since you’re not using a brush, there’s also no risk of bristles breaking off and becoming embedded in your paintwork.
Overpainting is also common when using a brush, which can lead to paint drips in the window runners. This is a common cause of sticking when sliding your sash windows; however, paint spraying avoids this problem.
Spray painting services cover a greater paint surface area in less time than it takes to apply paint using a paintbrush. Our equipment allows us to cover all the windows on your property much more quickly.
When painting with a brush — especially the second coat — you can get lost (especially during the summer when the paint dries very quickly) and miss some parts of the sash window. With paint spraying, it is very difficult to miss any part of the window, and because it takes up to 1 minute to apply one coat to one medium size sash window, you can visually inspect the surface for uncovered, dry areas.
Choosing the wrong paint for a sash window can result in some problems during spraying; some paint is not sprayable or needs to be thinned/diluted before spraying. You should check the tin before you buy it, as it will normally state whether the paint is sprayable or not.
Typically, if you need to thin a water-based paint, you do so by using a 30/70 proportion (water to paint); however, it’s not a strict rule for all types of paint, even those from the same batch.
They do not always have the same thickness, so you’ll need to develop a gut feeling for diluting the paint according to the current job’s requirements, equipment and temperature. We use all kinds and varieties of paints, and we select the appropriate paint depending on the job, temperature and the desired finish.
Water-based paints are the easiest to use, but the temperature has to be 15+ C, so it is not an option for cooler months. Oil-based paints can be used at any temperature above zero, but it takes more time to prepare and clean the equipment afterwards.


